I was quite excited to know my local store (Family Needs) got the Turkish brand ‘Flormar’ recently. I’ve heard a lot good things about this brand so I had to try some of Flormar product. Flormar does have a huge range of product though my local store doesn’t have all of their collection, which was a bit upsetting for me. So that I couldn’t get some product which I really wanted. Nevertheless, I am happy with what I got now and aiming to get some more Flormar in near future.
[wp_ad_camp_3][/wp_ad_camp_3]
Moving on to what I got this time, they were….
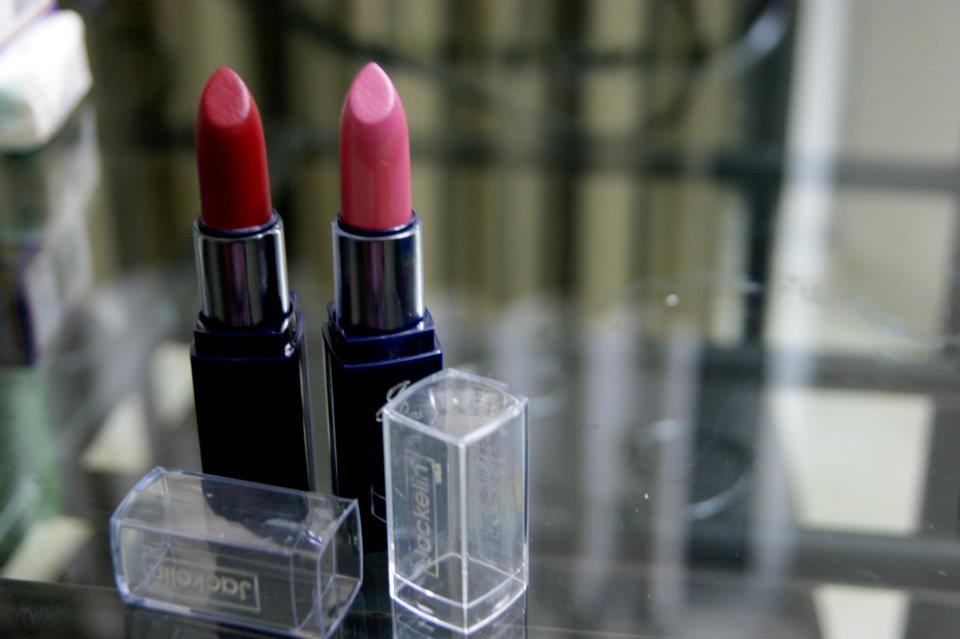
Selection Lipstick | Shade 31 (BDT 170/-)
 It’s a bright peach shade and has a sheer finish. I love the packaging but the finish I’m not really fond of in general (didnt noticed that while purchasing).
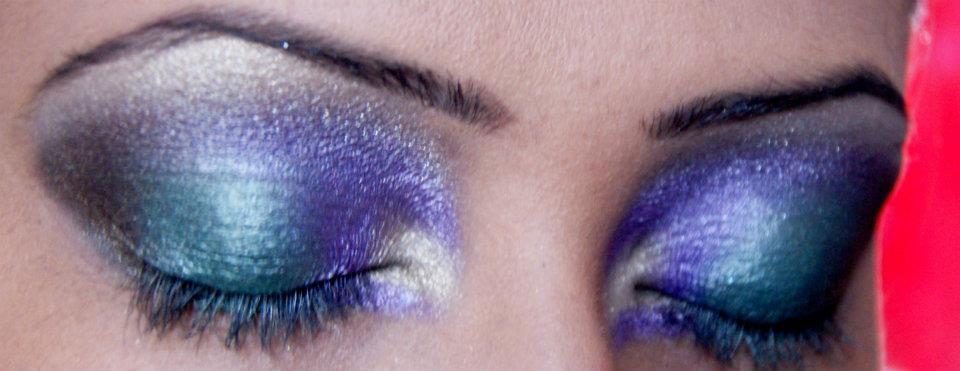
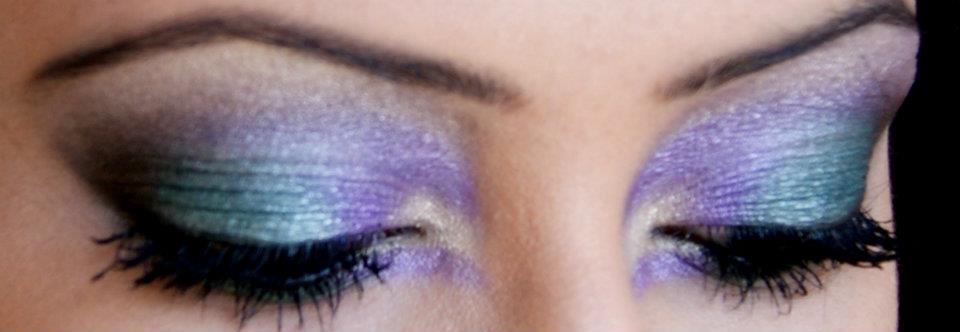
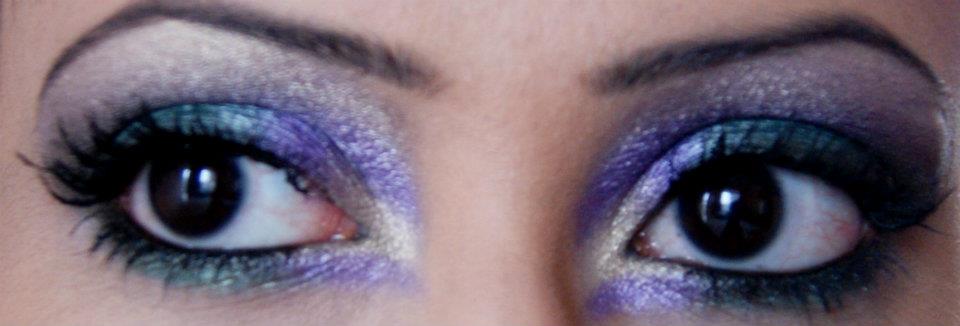
Pretty Compact Eye Shadow Quad | Shade P041 (BDT 225/-)
 The eyeshadow quad looked really attractive at first sight. But now I’m noticing that these are powdery, pigmented but not that much. I think it’s gonna be good with an eyeshadow primer.
Blush-on | Shade 91 (BDT 275/-)
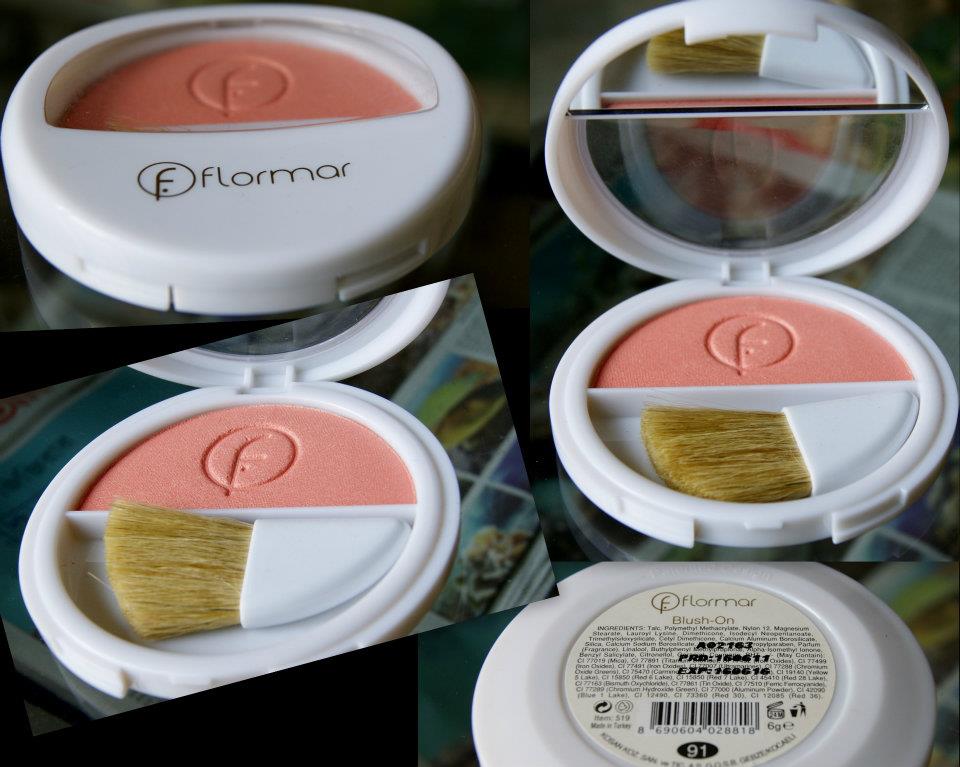
It’s a soft peachy shade and pigmented enough, slightly sheer and glossy in finish. I’m really loving this one.
[wp_ad_camp_4][/wp_ad_camp_4]
Pretty Compact Blush-on | Shade P113 (BDT 225/-)
 Love, love, love this shade. very natural brownish peachy-rosy tone and pigmented enough. Can’t wait to wear this !!!
Pretty Compact Blush-on | Shade P114 (BDT 225/-)
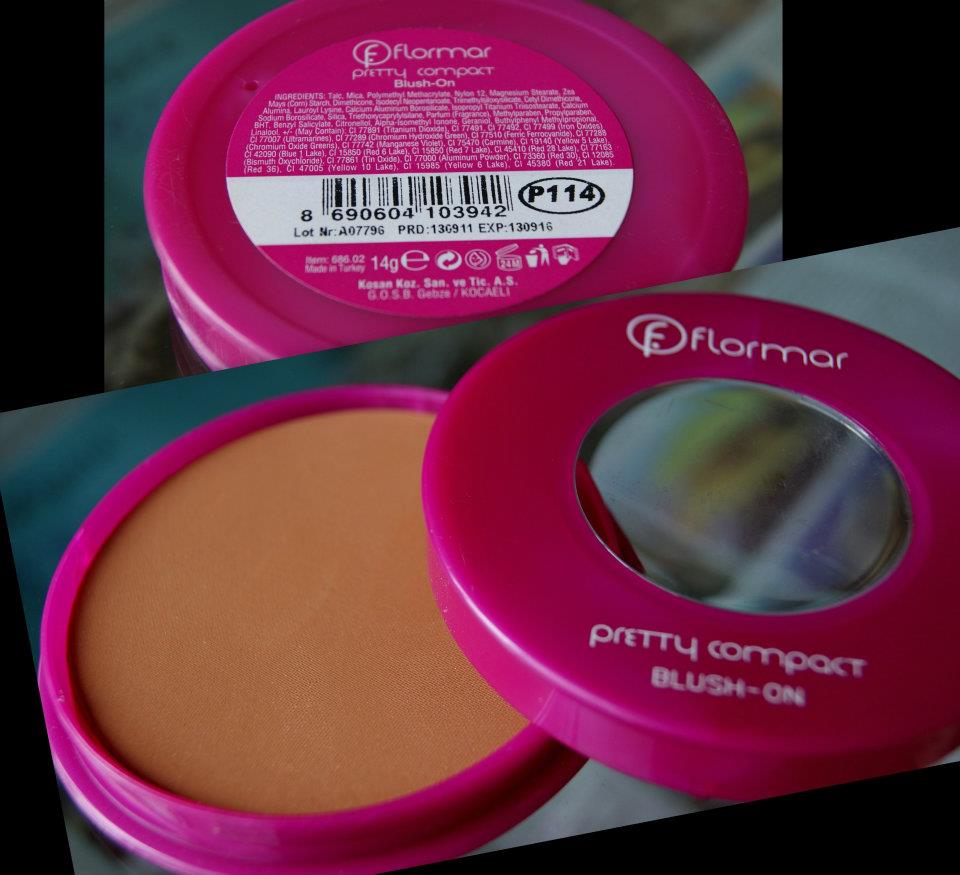 It’s a deep sun brown shade. I picked it up to wear as a bronzer. Has a bit of glitter dust in it but that not really visible upon application.
Nail Therapy Repair & Care Oil (BDT 150/-)
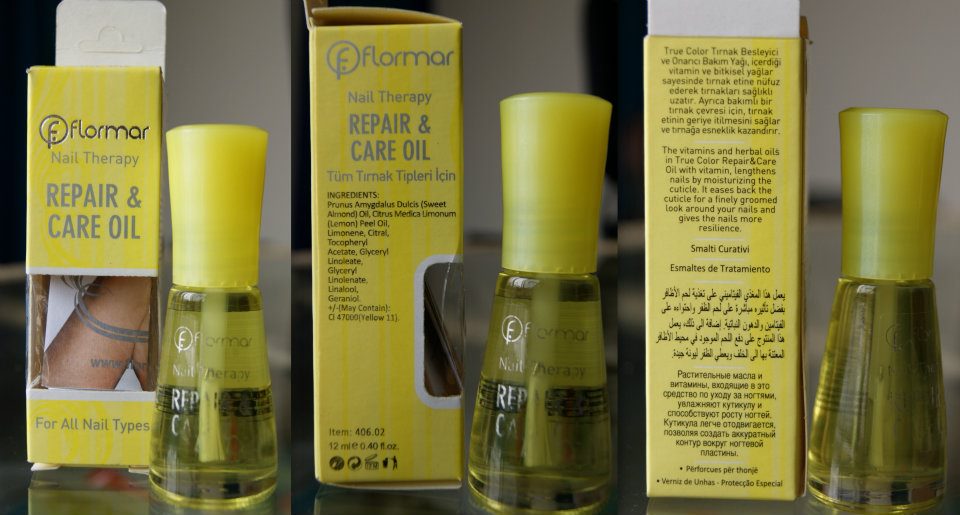 Ah!! A nail care product, which is so rare in BD. Happy to get one and can’t wait to try it.
Nail Polish | SupperMatte in M108, Neon in N008 (each BDT 90/-)
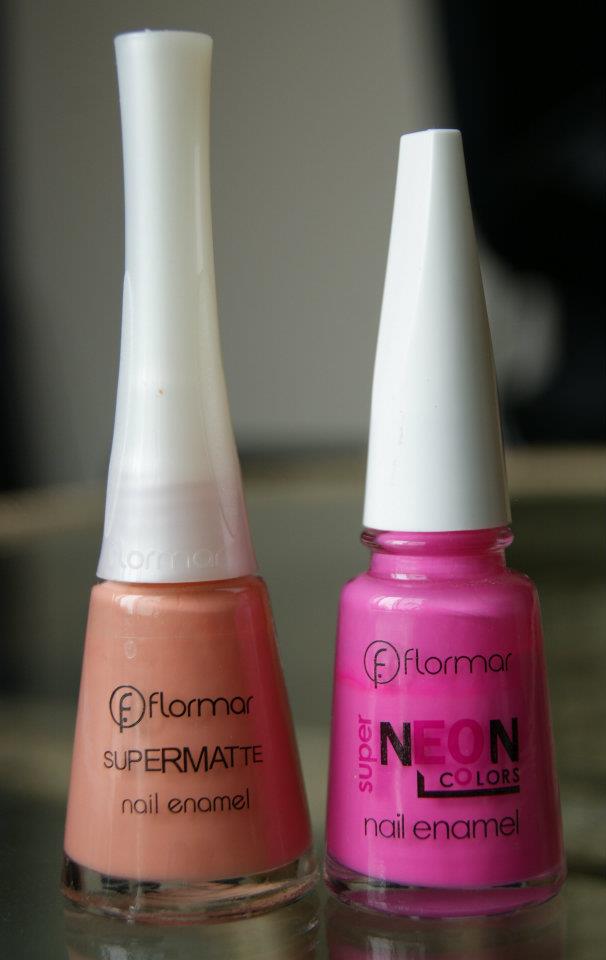 The matte one, been looking for such soft peachy shade for long, finally got one. This Neon shade pink is really neon on the nail, tried once. I’m so in love with Flormar nail polish after trying these two.
So that’s all for today. Do write me if you feel like to give some opinion about my blog and I would love to see you in my followers list 🙂
[wp_ad_camp_2][/wp_ad_camp_2][signoff][/signoff]