Hello there…
um with a supper cute hello kitty nail tutorial today… hope you’ll like it.Lets begin…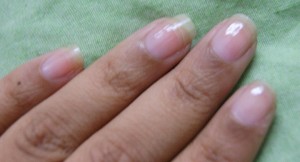
um with a supper cute hello kitty nail tutorial today… hope you’ll like it.Lets begin…

- start with a clear nail. make sure there is no oily stuff like cream or moisturizer in your nail. better you wash your hand before you start painting your nails. this will help you to last your nail paint.
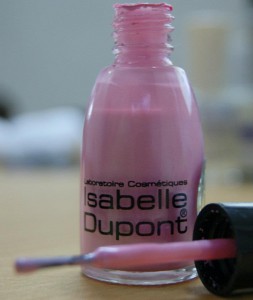
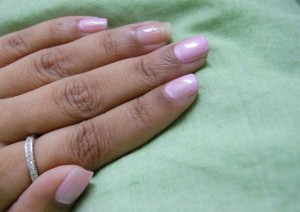
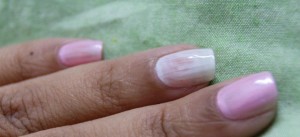
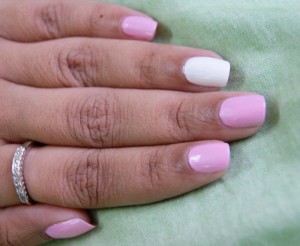
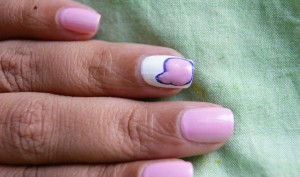
- take your baby pink nailpolish and apply 1st coat except your ring finger. because there we gonna paint our supper cute Kitty… when you applying your polish try not to touch your cuticles. nailpolish makes your cuticles weak and tend to dry up quickly.
- Now wait till your 1st coat dried up completely.
- Apply 2nd coat and have patient, wait until your 2nd coat is totally dry. It might take up to 20 min.
- depending on your nail polish, you might need another extra coat. if your base isn’t covered enough then do apply another coat.
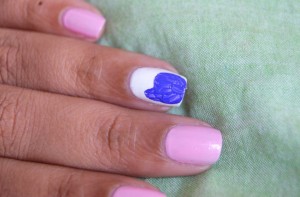
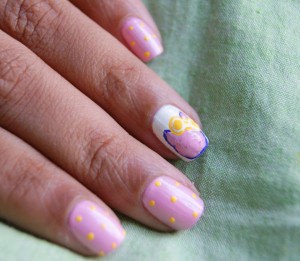
- If you done drying your nail then its time to draw you kitty. With a darker color start drawing Hello Kitty shape in your white based nail.
- Again wait a bit to dry it up. or you can go for your other hand to paint.
- give time to dry…
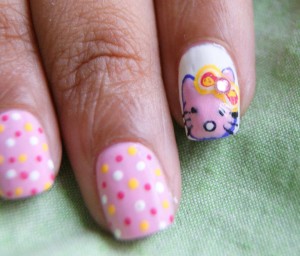
- Draw details on your kitty… add more colorful dots….
- i added a stone on the bow.. you can aswell if you want or leave it as it is.
- wait to dry…….
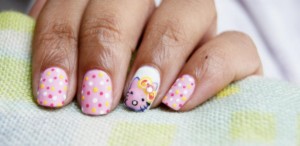
- When its completely dry finish off with your favorite top coat. i used matte finish top coat here. And again for the last time wait a bit to dry…. meanwhile you waiting, take a cotton bud and clean up with nailpolish remover if there is any mess in your nail…
…………So, now we are done with supper cute Hello Kitty nail. 🙂
tips:
- you can always use any color you want
- if you have Kitty nail sticker you can use that instead of drawing
- if you have Kitty stamping kit you can use that instead of drawing
- dont have dotting tool. not to worry.. use tooth pic or ball point pen or boby pin. it works fantastic.
- do not worry that you don have professional nail art brush. brushes i used here is all normal painting brush. which you can easily get from your local stationary .
- do apply top coat to prolong your nail paint. its also gives a good finish
- have patient while you doing your nail paint 🙂
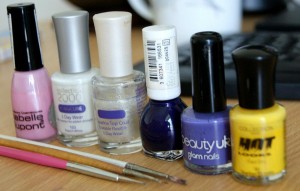 |
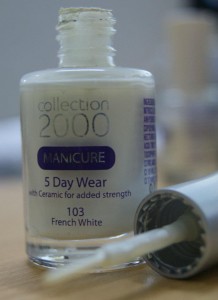
| products i used for this nail paint |
*** your comment is always appreciative… and do not forget to follow if you like my post 🙂


Wow, this is really great.
Wow, this is really great.
wwowwwww…..
wwowwwww…..
very cute…. I love ur nail shape 🙁
very cute…. I love ur nail shape 🙁
thank you for appreciation
thank you for appreciation
So cute
So cute
Cute!! 🙂
Cute!! 🙂
I will definitely try this ………… this is super cute ^_^
I will definitely try this ………… this is super cute ^_^