I’ve been thinking long to make my own lipstick palette.
If you following me in Facebook then you already know that I made one few days ago.
If you following me in Facebook then you already know that I made one few days ago.
Reason behind i wanted to arrange my lipstick in a palette is
some already broken ones and also to get rid of lipstick clutter.
So, Lets get started….. with the process.
Product you’ll need:
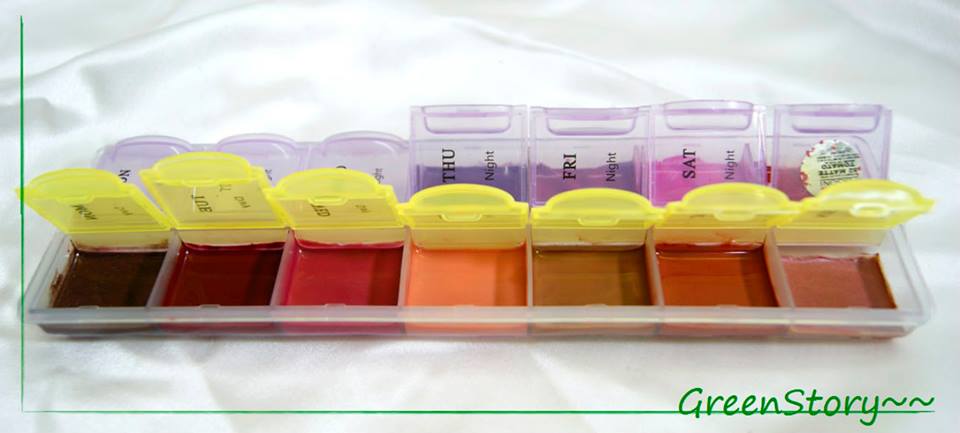
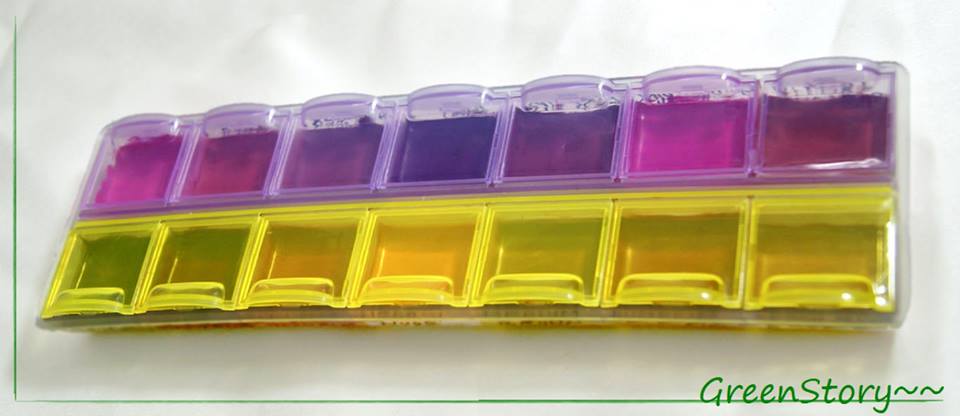
*A box to make the palate. I used here a plastic pill case.
you can find this type of box in any supper shop or plastic shop.
* Your Lipstick
*A sharp blade knife
*A sharp toothpick kind of thing to poke out lipstick from the container.
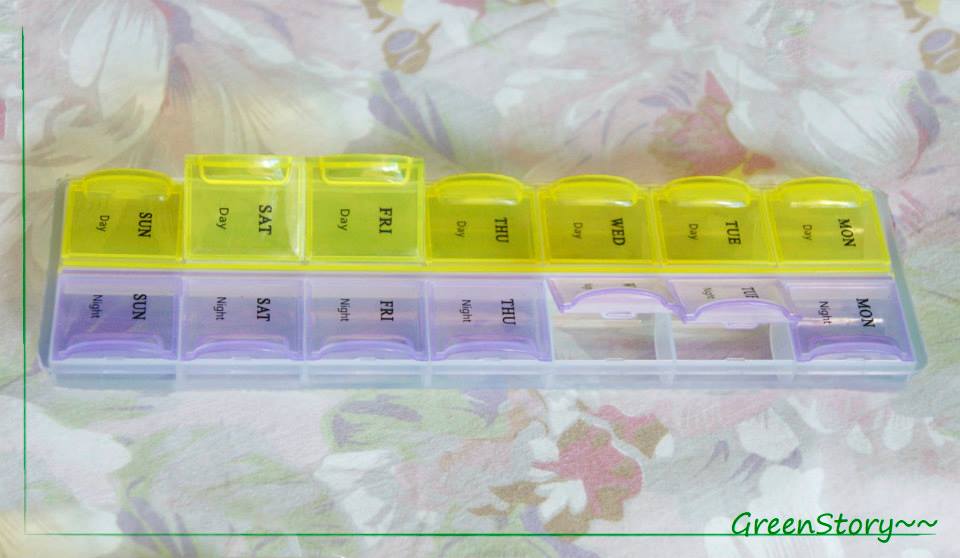 |
| this is the pill case i took to made my palate. |
Process:
This was my first time depoting lipstick.
I was worried a bit worried, what if i do this wrong or my whole process fail!
So I start doing it with one lipstick first.
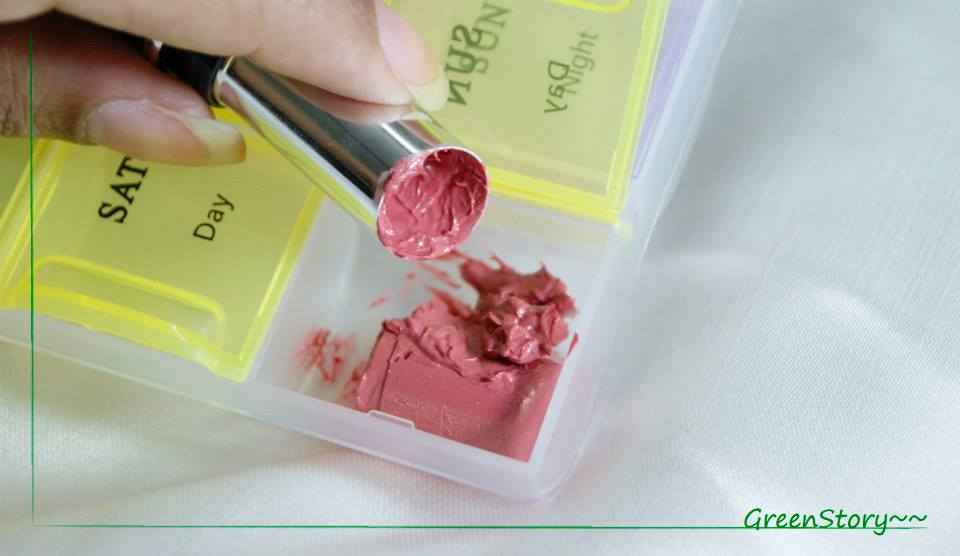
*I cut off the lipstick part with the knife and
poke out all the rest from the lipstick and took it in my case.
*Put the case on oven(microwave) in 180degree for 1 minute to melt the lipcolor.
But they didn’t melt in that heat… so I did it again but in full hit for 20 second.
This time it worked nicely.
*I give that few minute to rest the color.
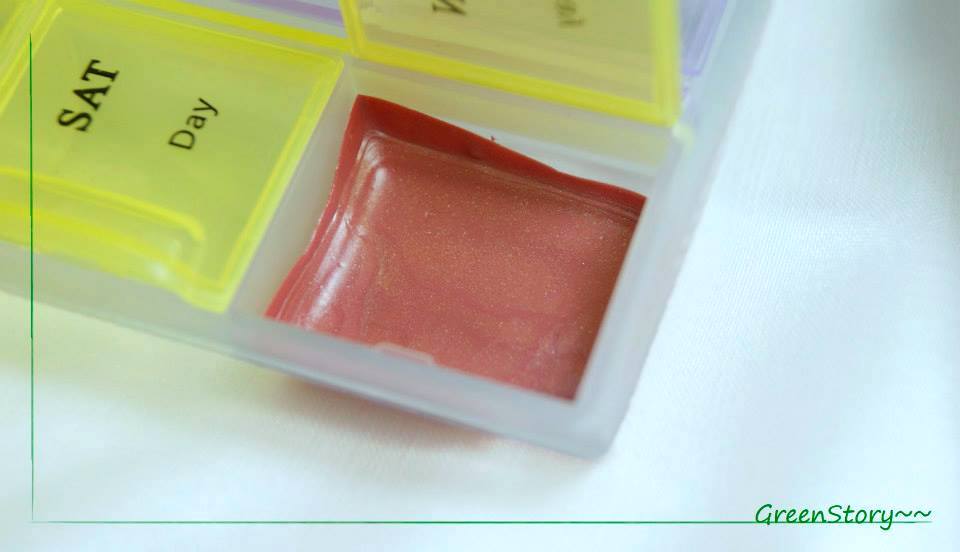
*After a while it was set and reformed totally with its previous consistency, color and smell.
*I was totally happy with the outcome so I start doing the rest.
*I took 13 lipstick to fill the rest of my palette. Cut off and placed in the case.
*Put it in the oven… As because it was a lot than one, so they took a bit more time to melt.
*This time I hit up all in full hit for 30 second. They melt partially this time.
*Again I hit them up in 450 degree for 1 minute. and they melt down completely and smoothly.
*After that gave them few Minute to cool down.
*And finally put them in freezer to set nicely.
*Within half an hour it was done. 🙂
*Now it was the time for finishing touch and labeling.
*I scratched off printing marks from the case to give it a neat look.
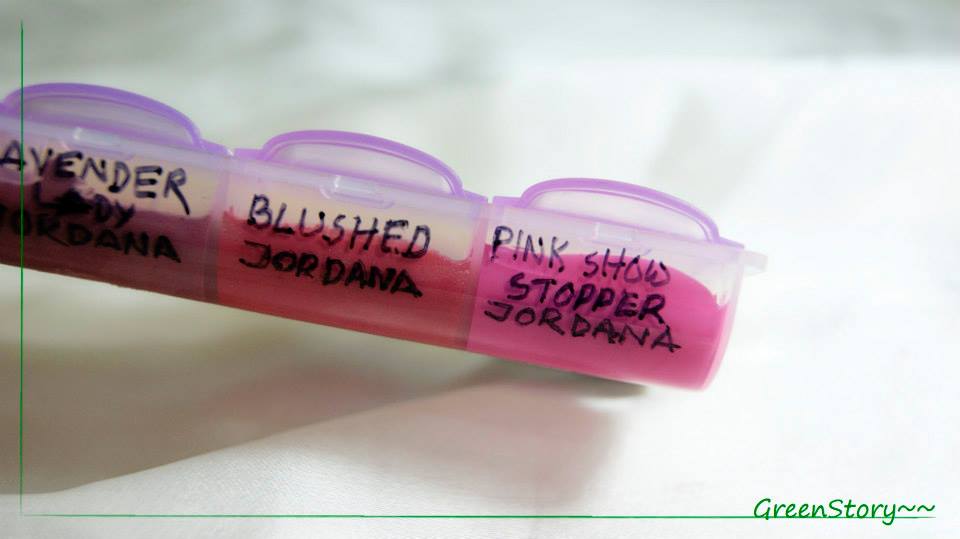
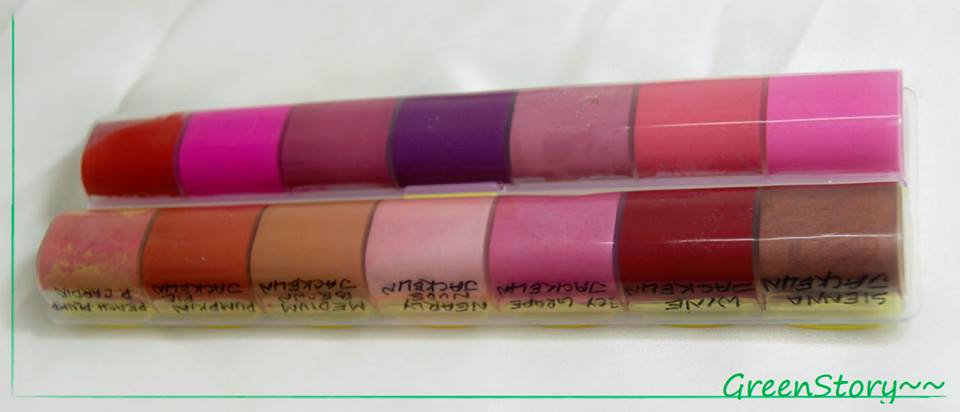
*Wrote down the name of each lip color with a permanent marker in the side of the case.
Holla !!!!!
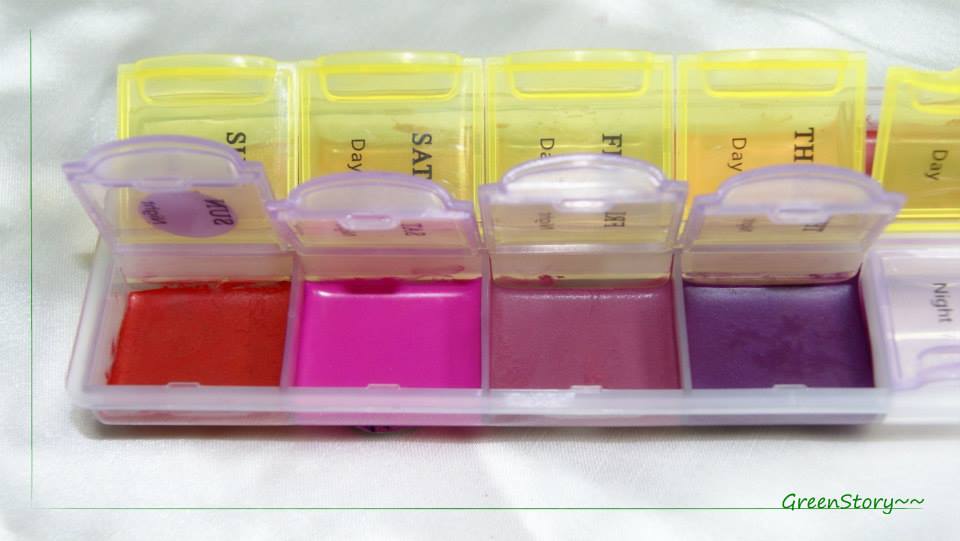
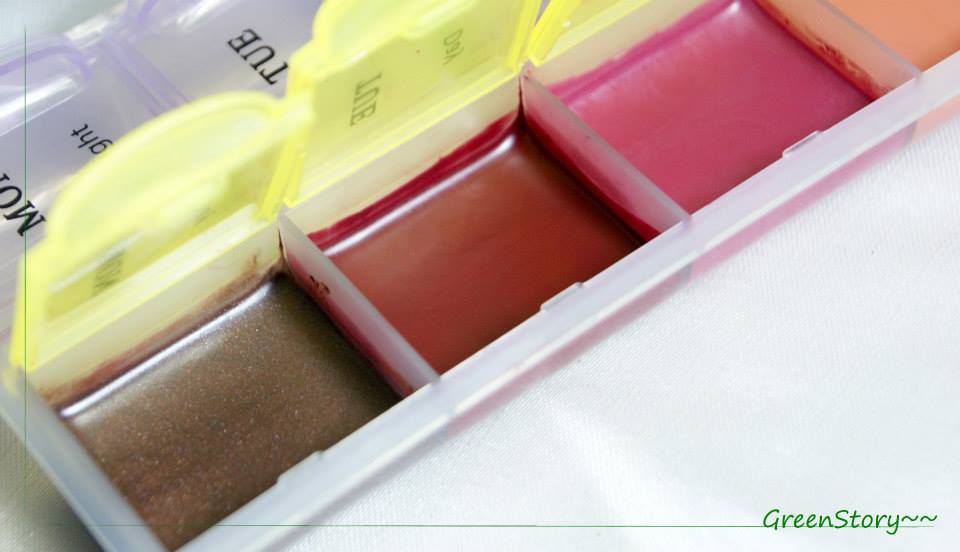
My lip color palette was ready…..
I really enjoyed doing this whole process
and so happy with the outcome.
I’m saving whole lot of space in my organizing drawer now.
I’m saving whole lot of space in my organizing drawer now.
Even feeling more happy when I’m thinking of traveling..
Now I’m gonna be able to take more lip color with me and
I don’t have to look for a color here and there..
This DIY is totally a time, space and life saver !!
Moreover, I’m thinking to create another palette again !
So, what you think??
Love it or hate it??
or,
INSPIRED??
thinking to make for yourself???
Let me know….
…Bye for today Lovelies…
Take Care
*** Remember to take the case in good quality and which is oven proof. otherwise you might occur any accident. Mine was food graded plastic.


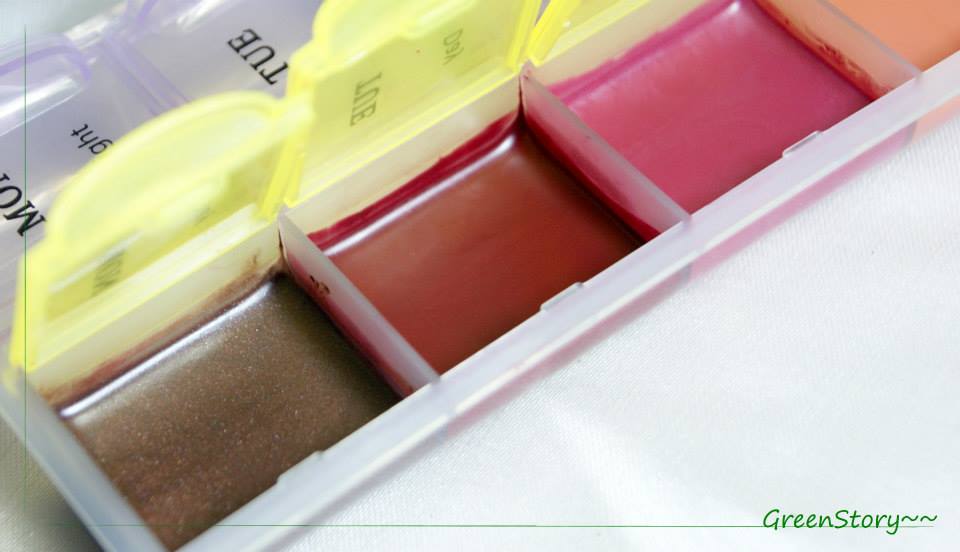
Wow..gonna try this for sure
🙂 let me know the update
Wow..gonna try this for sure
🙂 let me know the update
Great
Great
One thing was not clear, did you put the plastic container in oven?
thanks for remind me this point. yes the plastic container. it is food graded plastic. so quite oven proof!
ok! 🙂
One thing was not clear, did you put the plastic container in oven?
thanks for remind me this point. yes the plastic container. it is food graded plastic. so quite oven proof!
ok! 🙂
wow………….!Apu plz let me knw frm where u gt this plastic pill case?
I got mine from Family needs,Uttara.
you can find it in any super shop or plastic shop or in RFL best buy.
wow………….!Apu plz let me knw frm where u gt this plastic pill case?
I got mine from Family needs,Uttara.
you can find it in any super shop or plastic shop or in RFL best buy.
microwave oven or electric oven was used apu?
microwave darling 🙂
ok! gonna try this very soon! 😀 thanks alot!
microwave oven or electric oven was used apu?
microwave darling 🙂
ok! gonna try this very soon! 😀 thanks alot!
Apu you put this on microwave oven or electric oven??? was it preheated???
microwave darling… no preheat.
Apu you put this on microwave oven or electric oven??? was it preheated???
microwave darling… no preheat.
nice and clean u did a great job loved it =)
nice and clean u did a great job loved it =)
Amzing trick but ye tray milay g kahan s?
Amzing trick but ye tray milay g kahan s?