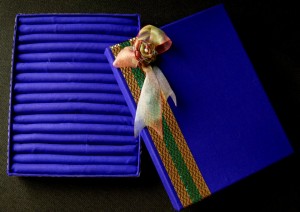
…another successful DIY of mine. Just made this yesterday. My Thanks to all those you-tubers who vloged their hard work and creativity as I learned this DIY process from youtube.
I thought to make a tutorial post about this DIY Ring Organizer but it was super hard to make and get the perfect piece. I totally messed up in between and even don’t know how did I finish it! ;p ..just made it somehow. That’s why I’m not able to post detailed DIY.
Though, I’m including some details that might help you…
 |
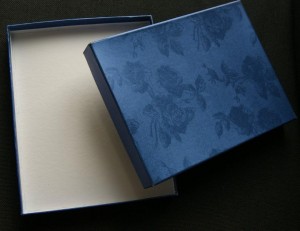
| box i used |
things you’ll need:
 |
| 5mm foam |
- a box, can be any box but needs to be hard enough to stay in shape and to carry all your rings.
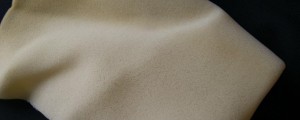
- any kind of fabric by what you’ll cover your box.
- glue to fasten fabric with the box. you can use fabric glue or super glue. but applying glue would be easier if you use a glue gun.
- foam to fill the lining for rings. I used 5mm foam
- some ribbon or lace to ornament your box
[wp_ad_camp_3][/wp_ad_camp_3]
process:
 |
| ribbon n fabric |
- 1st, measure fabric according to the box measurement as you can cover the whole box (both body and lead)
- cover up the box, use glue to attach the fabric.
- measure width of your box and cut out pieces from foam and fabric according to this measurement.
- now make rolls using foam and fabric. those are gonna go in your box to make a partition for your ring. The thickness of rolls will depend on your assumption. attach them into the box with glue.
- your main work should be done by now.
- Its time to ornament. use anything you like…might be lace, ribbons, buttons or stones…
- AND… hopefully, you are done making your ring organizer.
I hope you like the post. …your opinion is highly appreciated and don’t forget to follow 🙂
[wp_ad_camp_2][/wp_ad_camp_2][signoff][/signoff]


wow!!! unique idea.. thx
wow!!! unique idea.. thx
wow!! thx for the tips 🙂
pleasure dear 🙂
wow!! thx for the tips 🙂
pleasure dear 🙂