Home Blog Page 47

Review: Lime Crime lipstick My Beautiful Rocket

10
Hello, Lovelies…
How are you all doing?
Today’s review post is about
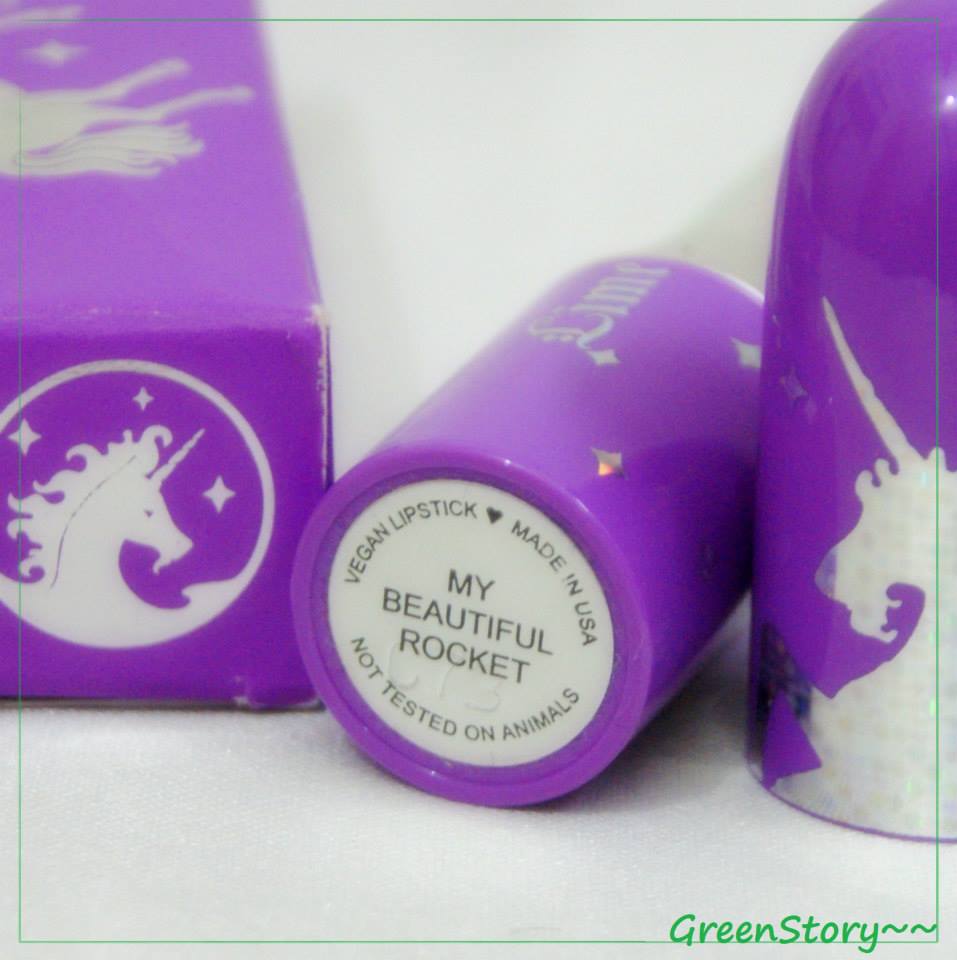
Lime Crime ‘My Beautiful Rocket’
Worth: $16 in LimeCrime web
Availability: not widely available in Bangladesh.
You can get yours through Online/FB shopping pages

On to the Packaging..
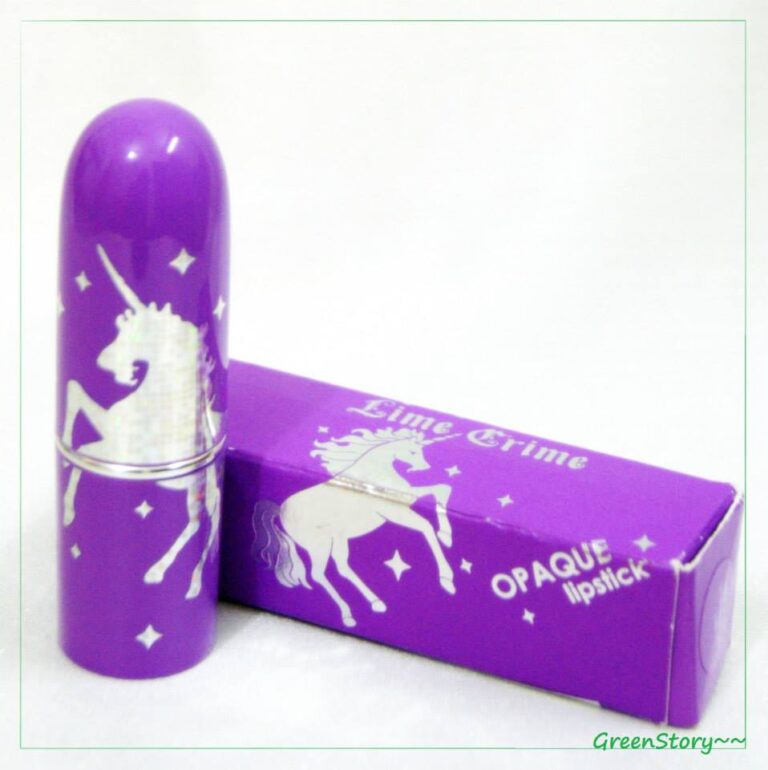
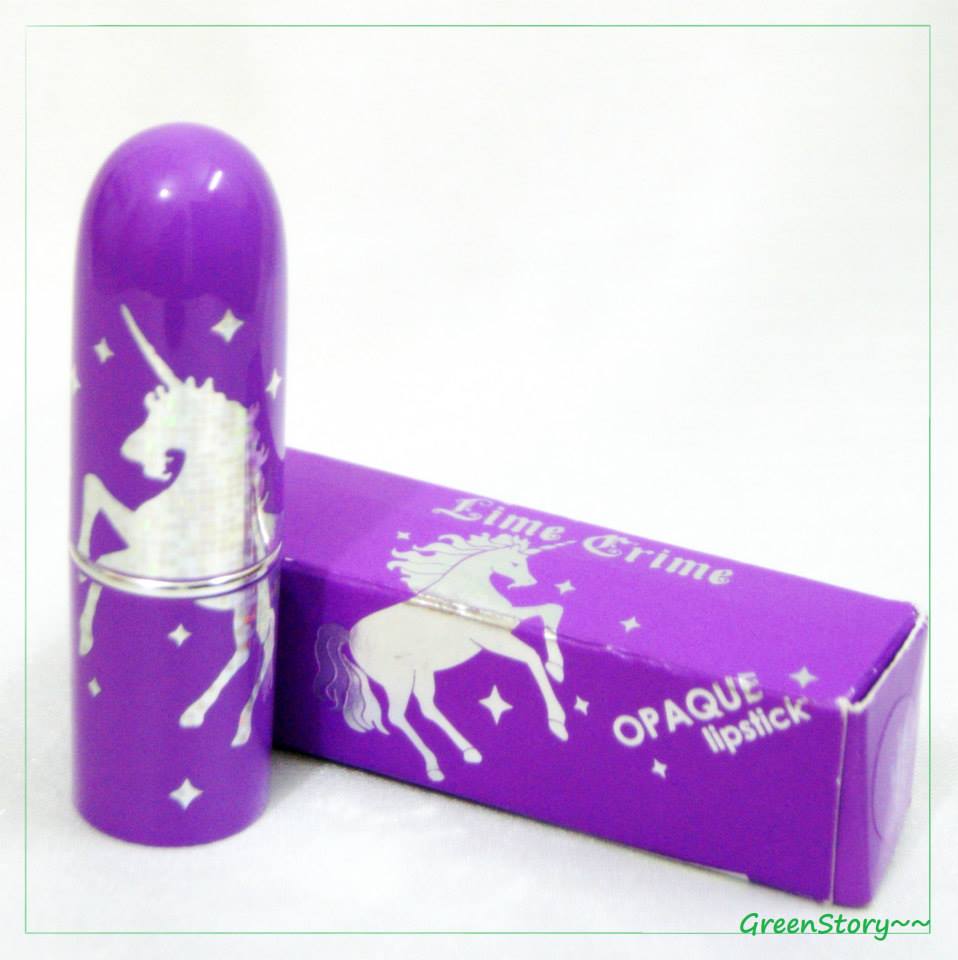
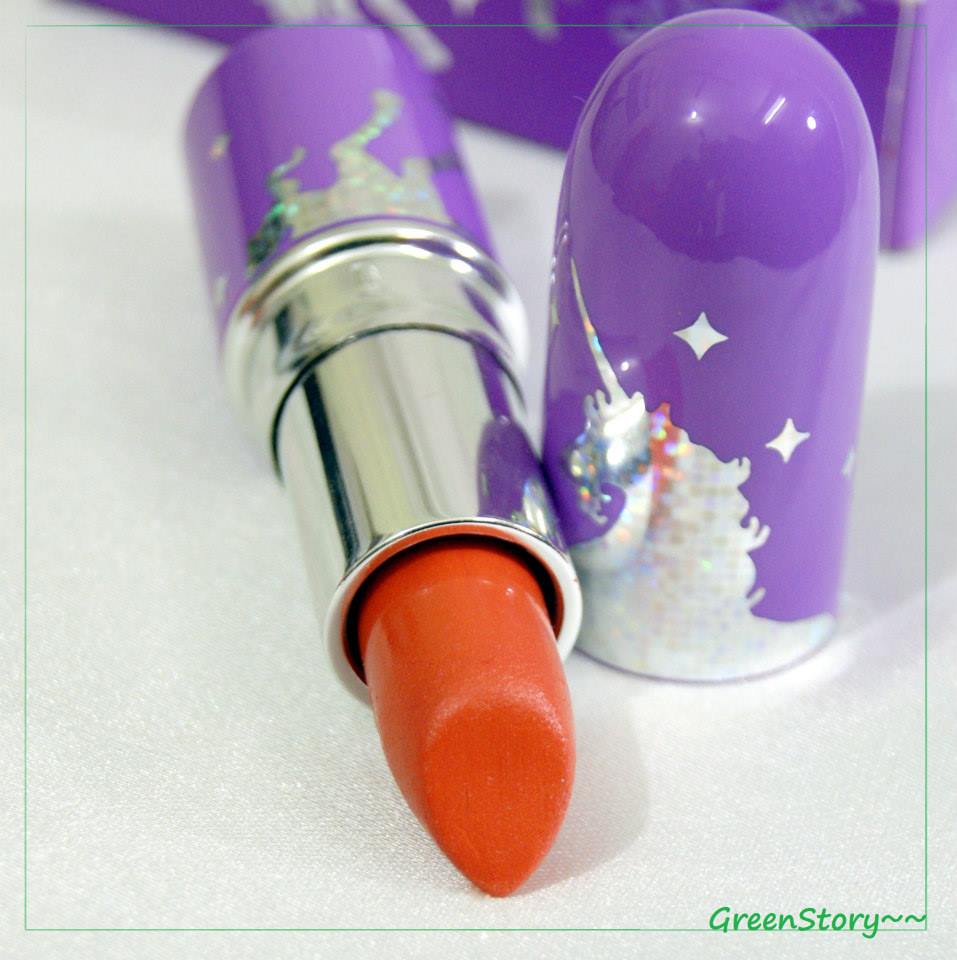
As usually.. a super cute thingy to have on your collection
pure lilac-violety-pink bullet shaped tube with sparkly holographic Unicorn !!
Can’t describe enough of the beautiful packaging.
Smells… sweet vanilla..
I love the smell like crazy !!
Like all others,
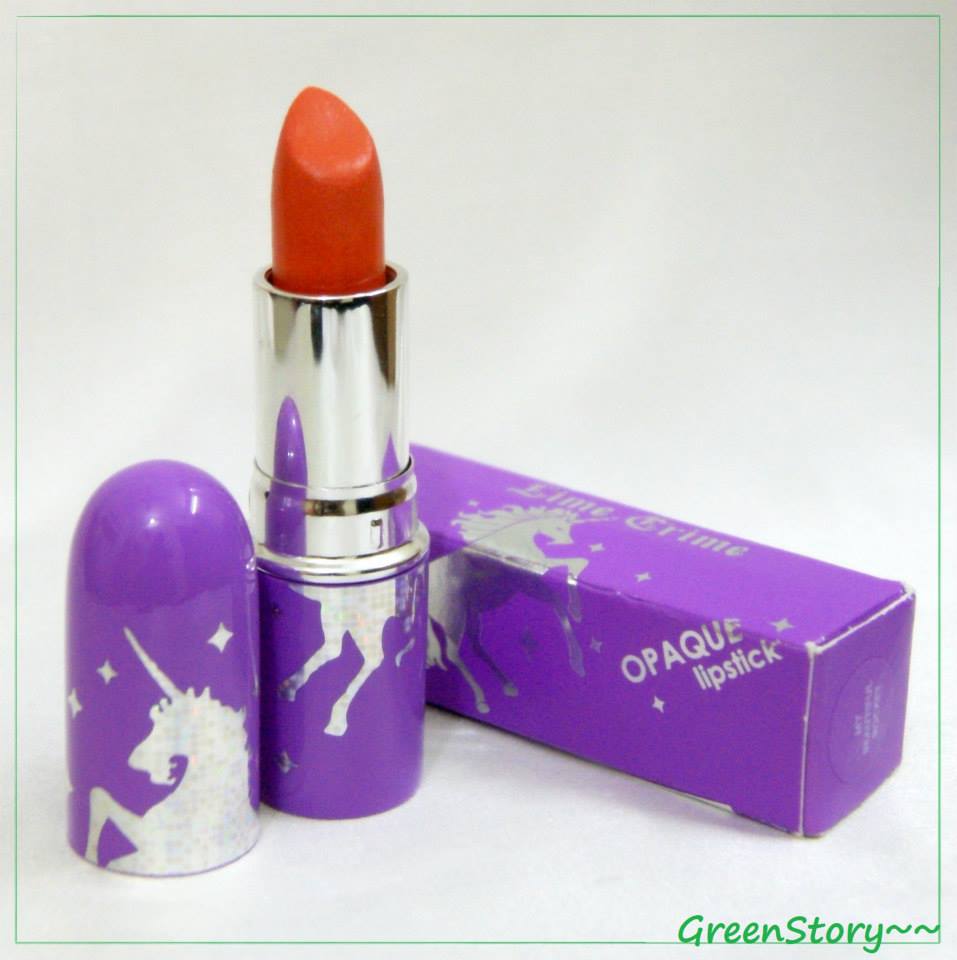
I was also dying to fly with the latest bright orange lip trend till I got this on my hand.
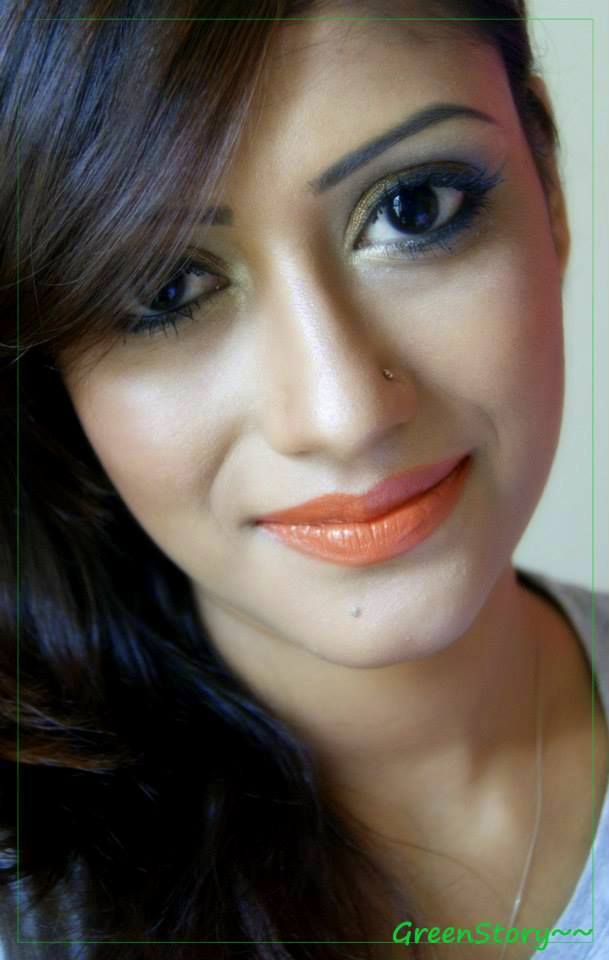
Trust me, you can’t get more perfect orange than this one.
It’s not any red-orange, no pink-orange, just the straight orange.
I was almost jumping when I got this !!
As because of my previous experience with LimeCrime ‘Ariborne Unicorne’
I didn’t think twice to buy this.. I was tremendously happy with the quality of LimeCrime lipstick.
But my experience with this one is a bit different !!
This gives the creamy and non-drying finish.
But Its was way more creamy than Airborne Unicorn.
Which is why, Totally settle on the fine line and transfer on anything like hell.
Even when I smoothed my two lips together It creates an uneven surface and stripy texture.
Im quite upset with the opacity, you will need three coat at least to get the right color.
And when you apply few coats directly from the tube you’ll get a crazy uneven creamy layer.
which certainly looks gross!!
However, I managed to find a trick for getting it right.
I applied with the brush and waited a minute after each coat to give it time to set down.
Then only I found it well applied with the full opacity.
There is also a plus point, Its stain lips nicely so that lasting power is quite well.
You’ll have nice orange stained lip throughout the day even if you eat or drink 🙂
..in day light
Overall,
I’m not surely happy with ‘My Beautiful Rocket’
Just trying to be happy.
I must mention that normally I’m a matte finish lover,
 I think if you like the cream finish you might gonna like it more than me.
Have you tried Lime Crime’s My Beautiful Rocket??
How is your experience??


[wp_ad_camp_2][/wp_ad_camp_2][signoff][/signoff]

Ponds Gold Radiance Youth Reviving Eye Cream | Review

4

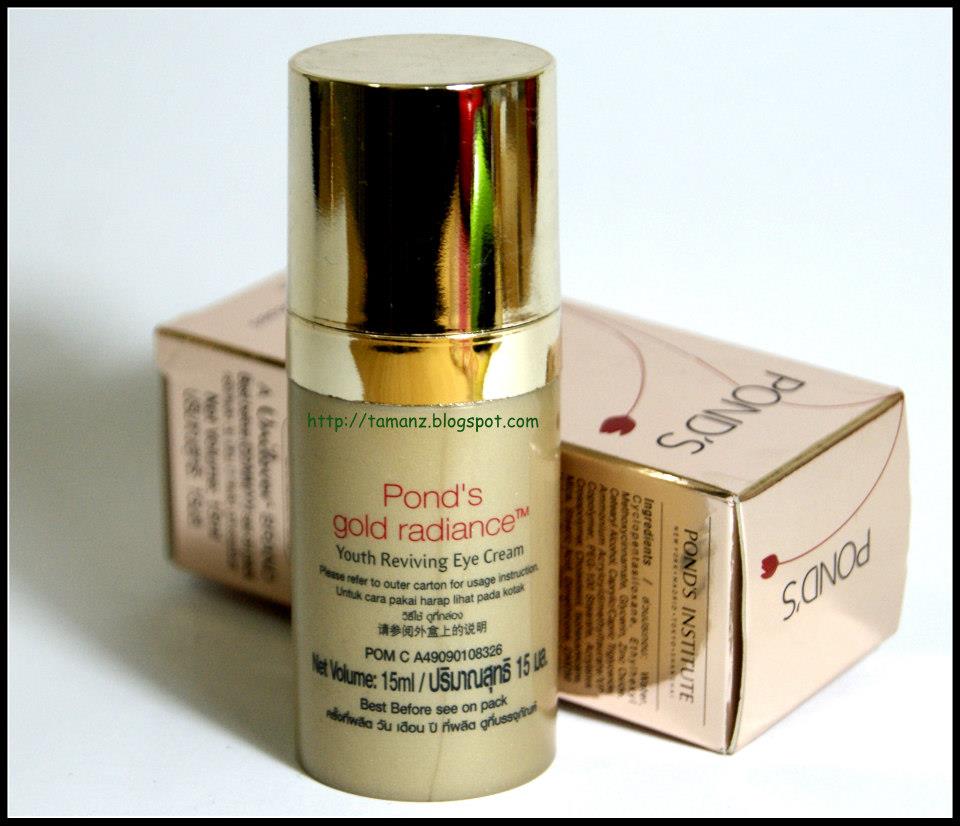
Hello There, in this post I’ll be reviewing Pond’s Gold Radiance Youth Reviving Eye Cream. Do you care those saggy fine lines under your eyes or those ugly dark circle? Well, I do. I don’t have much of a dark circle but hate lines under the eye. We can easily hide dark circle with concealer but what about fine lines? Nothing can hide those pesky lines for sure. So, I went out to get an eye cream for me hoping that’s gonna help me.

Skincare Products in Bangladesh are not much rich, especially if I talk about an antiaging skin care product. There are a lot of Indian skincare brands available which I’m not really a fan of. Pond’s skincare products are one of those available widely in Bangladesh which fall within my preference. Thus, I picked up Ponds Gold Radiance Youth Reviving Eye Cream. Retails for BDT 650/- for 15ml, available almost every skincare shops in Dhaka.

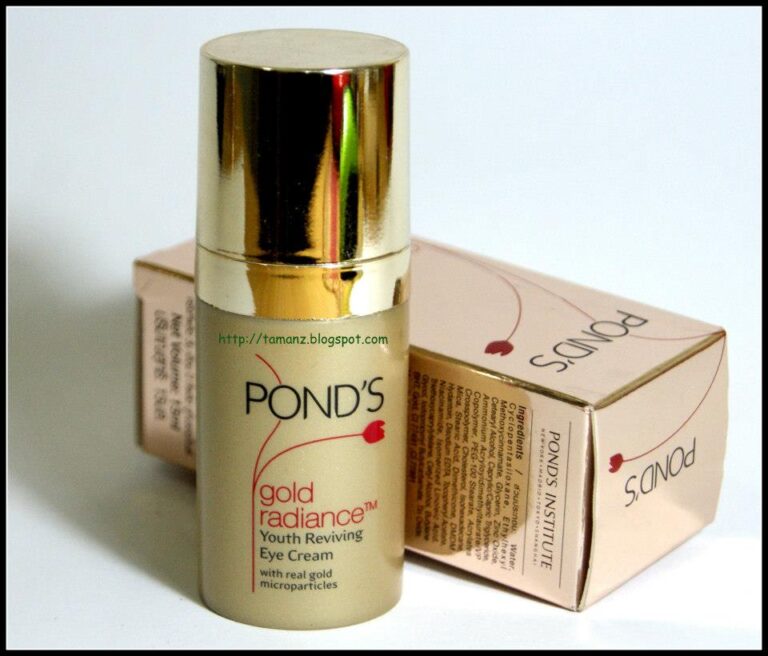
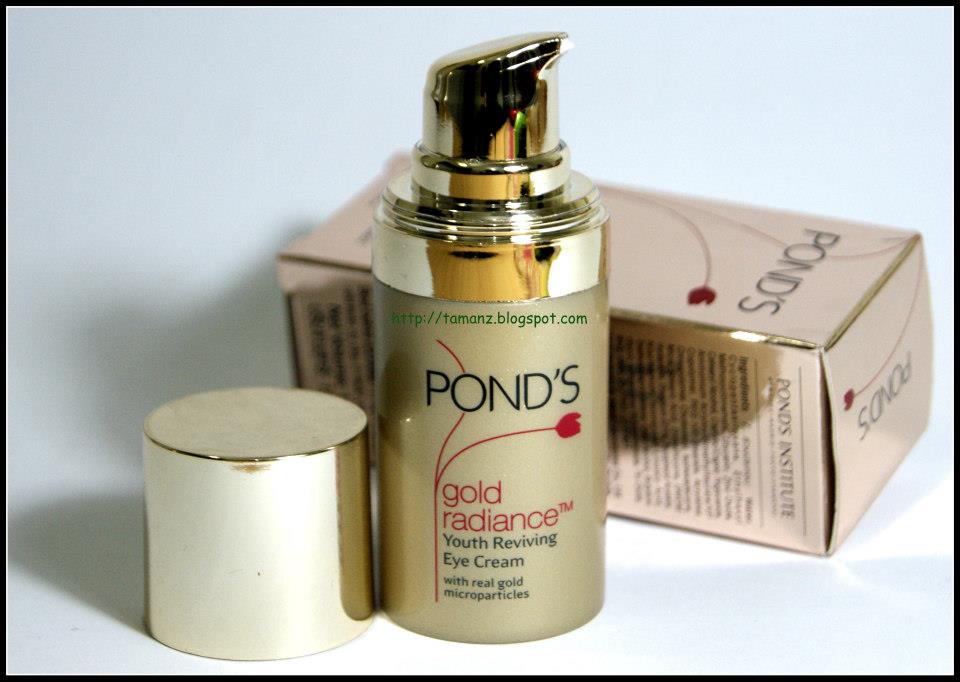
Ponds Gold Radiance Youth Reviving Eye CreamPonds Gold Radiance Youth Reviving Eye Cream

Claims and other basic of The Eye Cream Claims

This cream is blended with some very effective ingredient along with the goodness of real gold to provide a remarkable effect. Will erase all your dark circle and under eye marks. Will treat the first sign of aging.

The product comes with a sleek golden color pump packaging like all other Ponds Gold Radiance range. But This one’s packaging is a bit better in quality than the Ponds Gold Radiance Day Cream. I adored the packaging this time. The pump always makes it hygienic and easy to use. Ponds Gold Radiance Youth Reviving Eye Cream doesn’t have any remarkable smell or I can say it a fragrance-free product.

When u apply the cream you’ll need max 1/2 of the pump, which means 15ml will last for really long. It has tiny-miny Gold particles in it but after applying you can hardly notice that. Applies very smoothly on skin, feels lightweight and absorbs easily. I must mention it doesn’t give any greasy feeling either.

One bad side for packaging, you cant see how much product is left there!

[wp_ad_camp_4][/wp_ad_camp_4]

My experience with Gold Radiance Youth Reviving Eye Cream

I have been using Ponds Gold Radiance Youth Reviving Eye Cream for 2months now. Its been my part of my every night care routine. As I mentioned before I don’t dark circle, problematic fact for me is fine lines under eyes. I’m quite bothered by my smile lines so I used it there as well.

After 2 months of use, I can say I’m loving this cream. Whatever dark circle I had that’s gone (my daily routine helped me, of course) and I’m seeing quite an improvement in my smile lines. Although, I believe its gonna take time for under eye area but what good can happen more than this when those are quite in control!

Overall, If you are concern about your eye problem I’ll tell you to give this product a try. It’s a bit pricey compared to product amount but a little goes long. And for the benefits I got, I say this product totally worth a try.

What is your current eye care product? I would love to hear about that 🙂 Let me know in the comment box below.


[signoff][/signoff]

Ponds Gold Radiance Youthful Glow Day Cream | Gold on Skin or Not?

2

Hello there, hope you all doing well. Today’s I’ll be reviewing Ponds Gold Radiance Youthful Glow Day Cream here in GreenStory. This Ponds Moisturizer also contains SPF 15 PA++. Pond’s Gold Radiance skincare range is quite hyped now in Bangladesh. So obviously, I was very much drawn to it to give it a try.

Ponds Gold Radiance Youthful Glow Day Cream retails for BDT 1200/- [50g]. Available widely at every leading skincare shops in Dhaka or anywhere else in Bangladesh.


Ponds Gold Radiance Youthful Glow Day Cream Claims

Ponds Gold Radiance day cream claims to be a luxurious one because of its infusion with real gold to re-capture the radiance of youth. Claims to fight the four dimensions of dull and aging skin. The Gold Radiance Youthful Day Cream also contains SPF 15 and PA++ that protect the skin from harmful UVA and UVB rays.

The active ingredients include real gold microparticles known to give instant radiance to the skin while enhancing skin’s renewal process and skins elasticity.With regular use, your fine lines, wrinkles & age spots will fade from sight as luminosity is reinvigorated. Skin feels revitalized & more alive every day.

[wp_ad_camp_3][/wp_ad_camp_3]

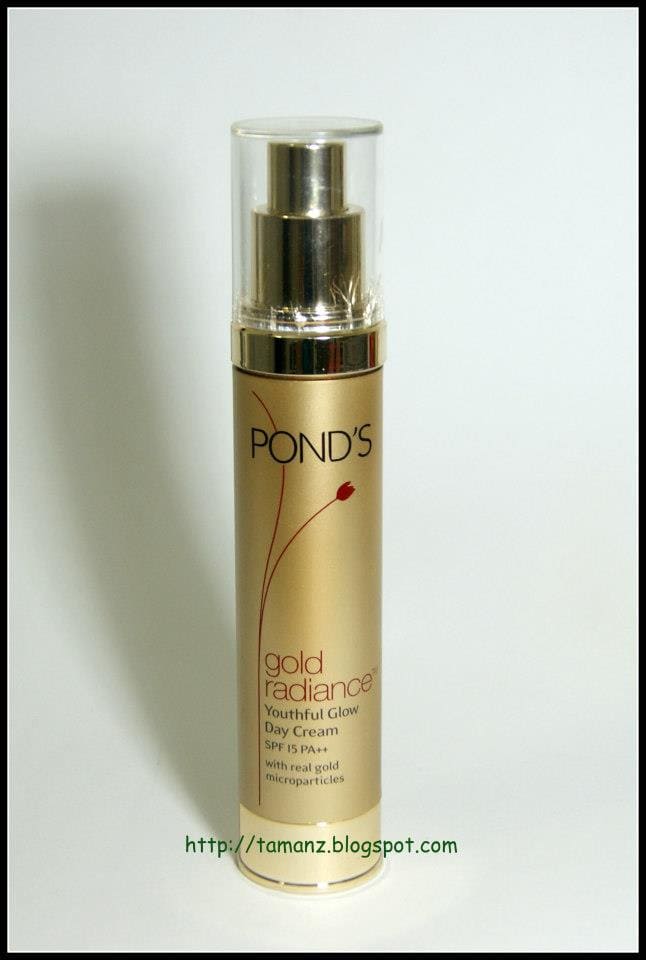
Ponds Gold Radiance Youthful Glow Day Cream | Works Gold on Skin or Not?Ponds Gold Radiance Youthful Glow Day Cream | Works Gold on Skin or Not?

Packaging of Ponds Gold Radiance Youthful Glow Day Cream

This Ponds Moisturizer comes in an easy to use tall pump-bottle. Initially, I literally fell in love with the packaging because of its gold accent. Who wouldn’t, no? Of course, my crappy picture doesn’t justice that at all!

The bottle actually looks very classy and attractive from the distance but when you see it closely you’ll feel the cheap plastic finishing. That I surely started hating after a few days. The pump on the bottle is ok. Because you cant see anything inside the container so you’ll never be able to see much product is left there.After using it few days the Lid got totally cracked without any reason. maybe it’s because of poor plastic quality…. and it doesn’t fit on the pump anymore. and I Hated this.

The most disappointing thing happened with the packaging after a week or so. The Lid of the Ponds Gold Radiance day cream cracked on me without any reason. I assume it is the poor plastic quality. After that, I cant close the lid anymore. Such a shame!

[wp_ad_camp_4][/wp_ad_camp_4]

Ponds Gold Radiance Youthful Glow Day Cream | Works Gold on Skin or Not?

My Experience with Ponds Gold Radiance day cream

I’m having combination skin type. I got this product in January with loads of good hope, sigh!! It was winter then. First time I applied the cream it felt sticky and greasy. It didn’t leave any white cast but left an oily film-like shine on my skin. Though that will go away it didn’t show any symptom to get absorbed. There is some gold [ha ha], actually, glitter dust in it n which is pretty visible when you look closely after application. Don’t get the idea that the shine occurred by those the glitter things. It was the formula of Ponds Gold Radiance Day Cream itself.

Guess what, when my husband saw me with the cream applied; he asked, “are you taking any oil therapy?”
– His question was good enough for me to settle my mind for this moisturiser. Ponds Gold Radiance Day Cream is undoubtedly not for my combination skin.

Nonetheless, I did try to use it later on for those days when I wasn’t going out. The cream didn’t give me any sight that it was working on the skin damage, neither it was helping the skin to brighten up. While I was using this I faced so many skin problem and so I did stop using it at a point.


Hey wait, I’m not done yet telling you the story!
– Now I’m giving this Gold Radiance Youthful Day Cream a try as my night cream. Yes, ignoring the fact that it has SPF in it which is not suitable for night time skin care. Don’t blame me! It just the blogger mind, couldn’t resist doing another experiment. Yet after all this, I haven’t seen any beneficial sign on my skin.


Would I recommend Ponds Gold Radiance Youthful Glow Day Cream to you?
– hell NO, if you have a combination to oily skin. I’m also doubtful about normal skin type. Only if you have a dry to normal skin then this Ponds Day Cream might feel good to you.

Have you tried Ponds Gold Radiance Youthful Glow Day Cream? Do I sound any similar to you? let me know in the comment below.I’ve also tried the Do give a check on Ponds Gold Radiance Youth Reviving Eye Cream | Review


Update:
I’ve also tried and posted the review of the Ponds Gold Radiance Youth Reviving Eye Cream, give a read if you’re keen.

[signoff][/signoff]

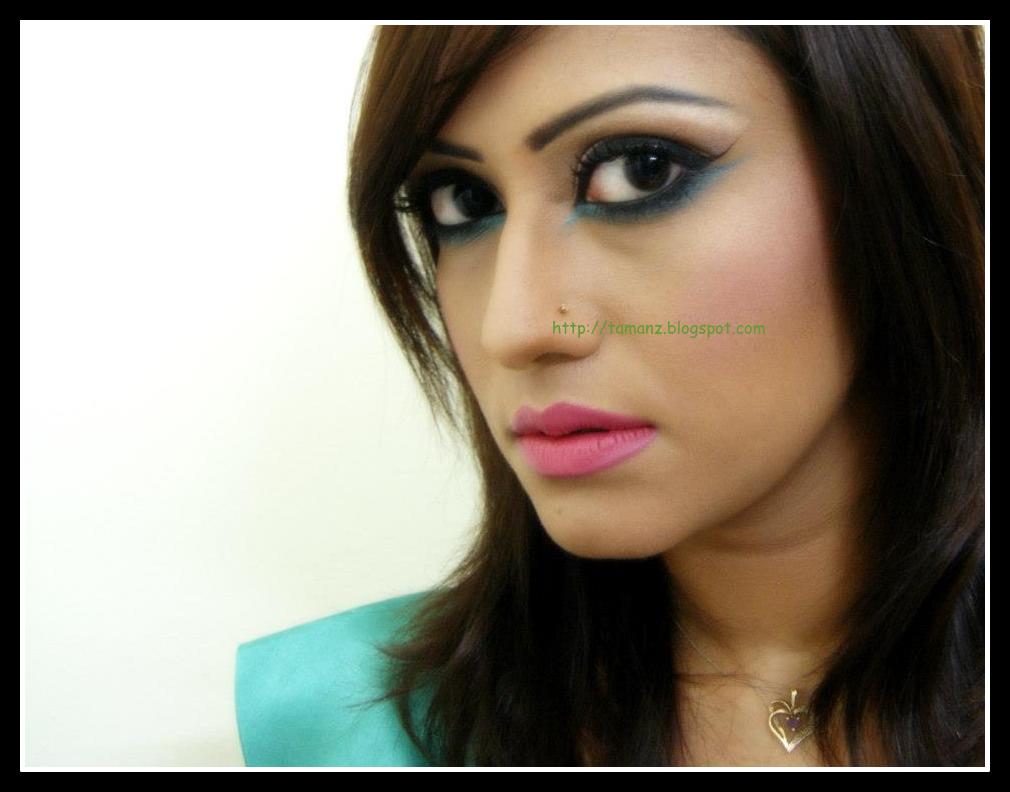
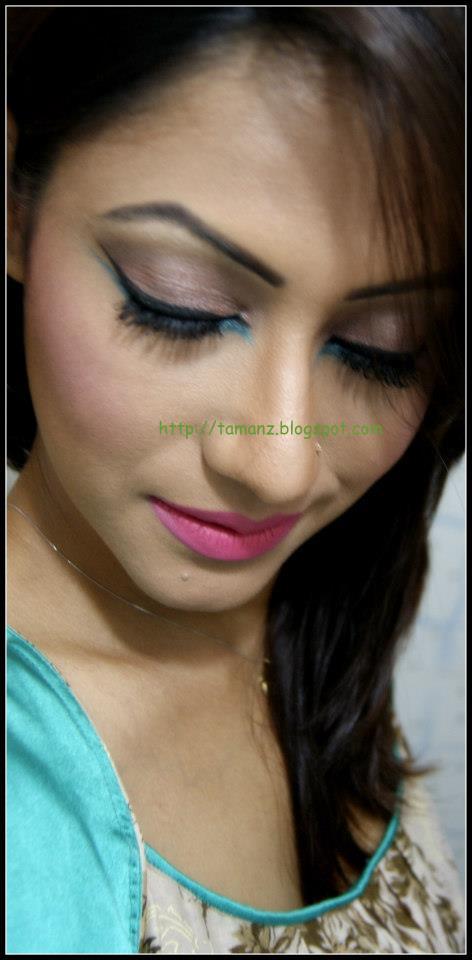
Tutorial: Spring look: nude with teal twist n pop up Lip color

Hello Ladies….. !!!
How you all doing??
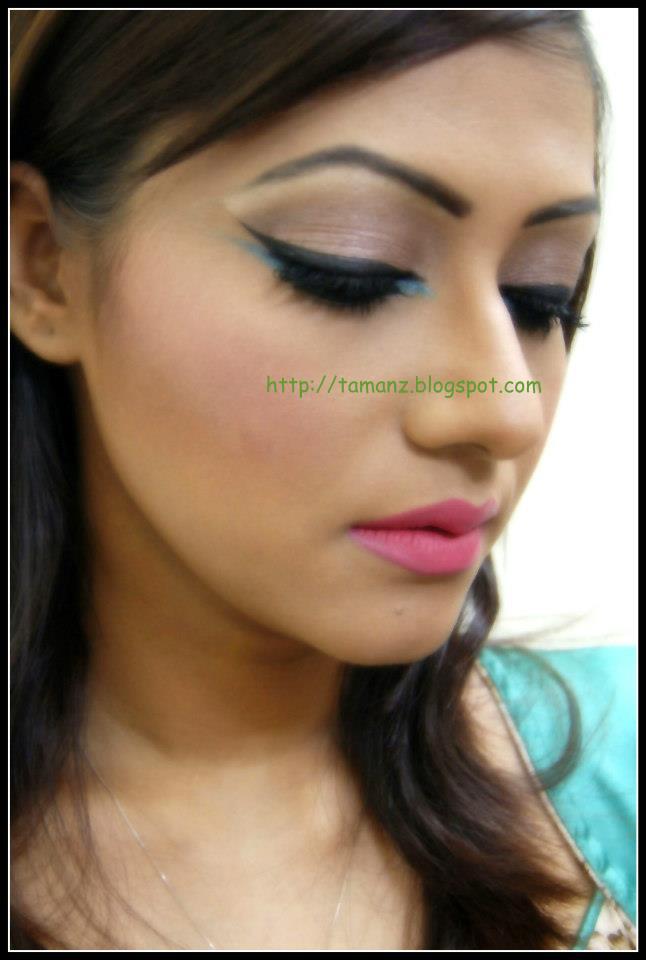
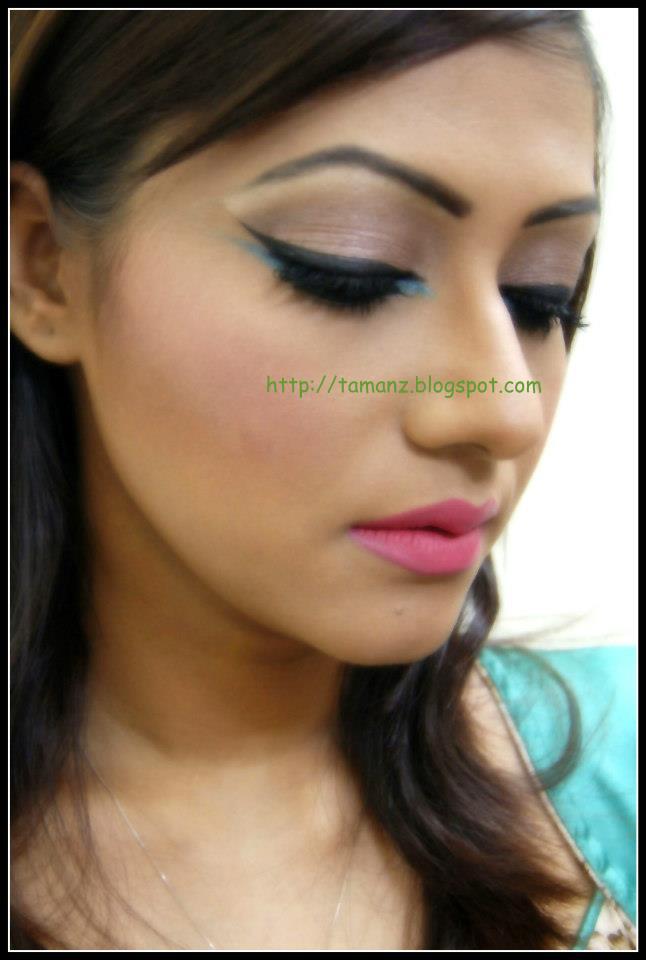
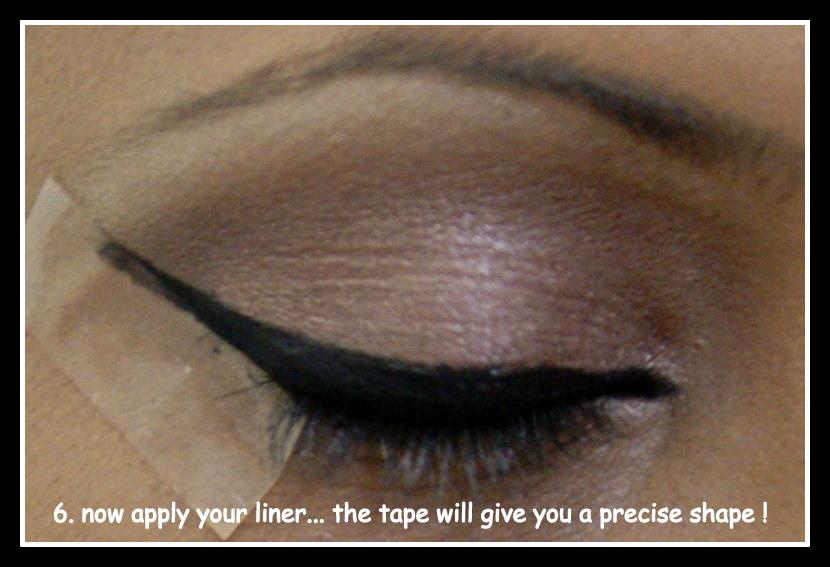
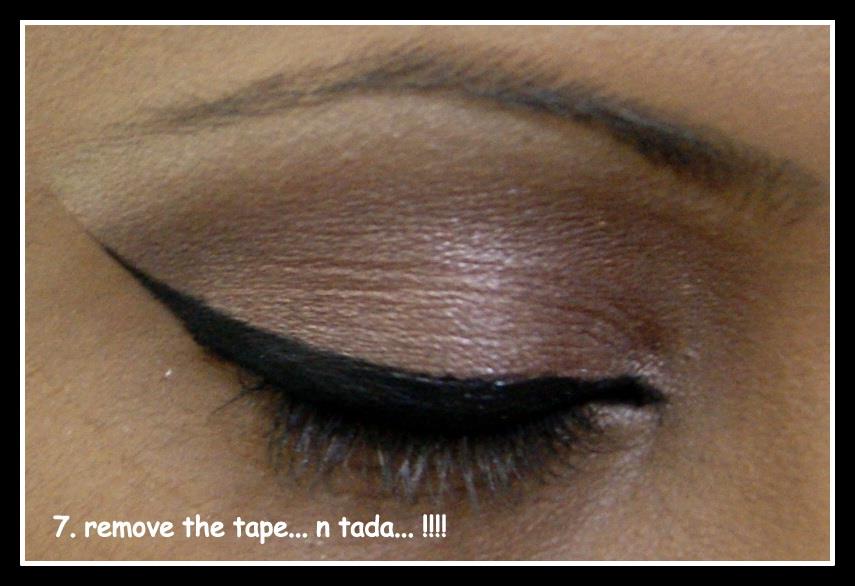
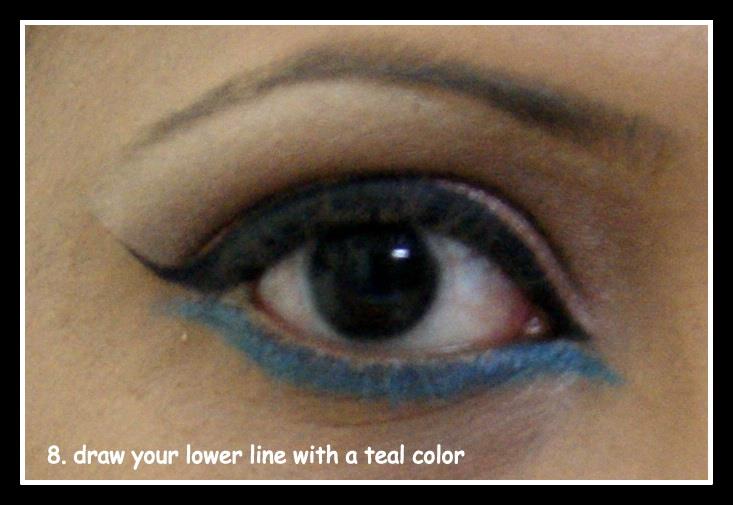
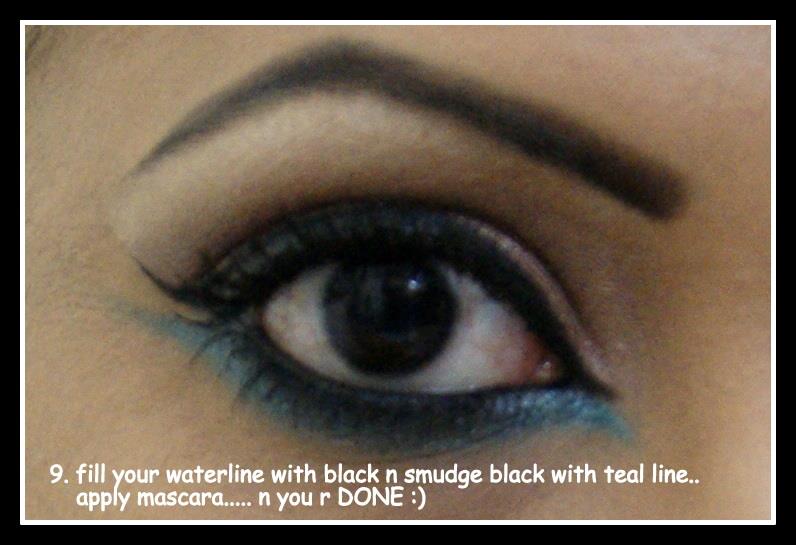
here’s the spring look tutorial for you…

Look like so much going on in this look
but..
actually the bright Lip has done the magic…
in this look, eyes r totally nude but just a bit of teal twist :)enjoy the eye pic-torial…
Now…. move on to your face….. 🙂
Product I’ve used here:
*MUA heaven n earth eye shadow palate
*Jackelin eye pensil in Firoza
*MUA poptastic palate
*Revlon khol pencil
*la-femme gel eyeliner
* L’Oreal feather lash mascara
*Prestige backed mineral blush in pink
*MUA bronzer in shade 2
*Flormar terracotta powder in shade 21
*IONI matte lipstick in coral cream.
Hope this post help you to create your look.
Feel free to comment n share
Follow me with Bloglovin 🙂

~~~Take care till the next post~~~

How To Do Basic Makeup With Foundation | Base Makeup

If you are a regular reader of GreenStory then you already know that a few days before I started doing a ‘how to do’ type post on Base makeup. previously I posted Makeup With Pancake | Heavy Base. check that if you haven’t yet.

Today I’ll talk about how to do basic makeup with foundation. With foundation, we can achieve heavy, medium to sheer makeup which is more appropriate for our day-to-day makeup.  I mean to say, makeup that is appropriate for individuals and not any stage makeup. I always reach for a foundation (liquid to be more precise), for daily makeup to party makeup. Using foundation for a base makeup is way easier than using pancake foundation of so.

Products for Basic Makeup With Foundation:

  • a liquid foundation (obviously!) in medium to heavy coverage (as you prefer) in your skin shade (I used Rimmel for today, read the review here)
  • A concealer of your choice (I used it here Revlon age defying spa)
  • Translucent powder or any pressed/finishing powder (I used Revlon Colorstay pressed powder)
  • Some face brushes like powder/foundation/stipple/concealer/kabuki etc. Beauty sponge if you prefer that.
  • Face Primer of your choice (I haven’t used it here. A moisturizer can do the job as well).

Process:

How To Do Basic Makeup With Foundation

  • Start with a clean and moisturized face. Apply primer if you want. Then apply sufficient drops of your foundation. You can directly put foundation on your face or can take the foundation on the back of your hand or a mixing plate that your brush to apply that on the face.

How To Do Basic Makeup With Foundation

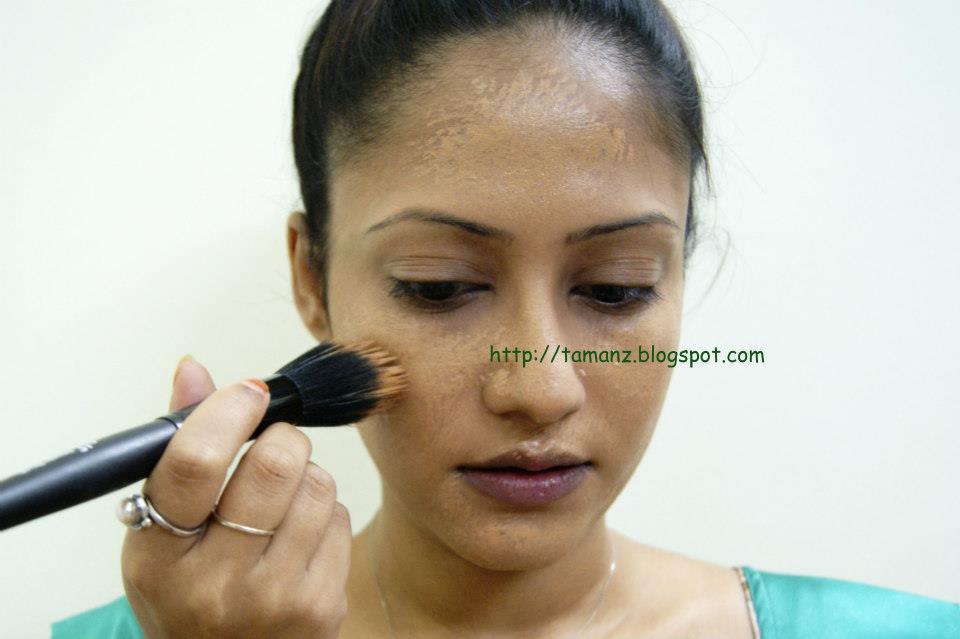
  • Start blending onto the face with the help of your brush. I’ve used ELF stipple brush here. You can definitely use finger tips for that, works almost the same way just with a brush it’s faster and easier. I prefer a brush to avoid messing with my hand as well. Blend your foundation until you get your desired smooth coverage. Add more layers if you want.

How To Do Basic Makeup With Foundation

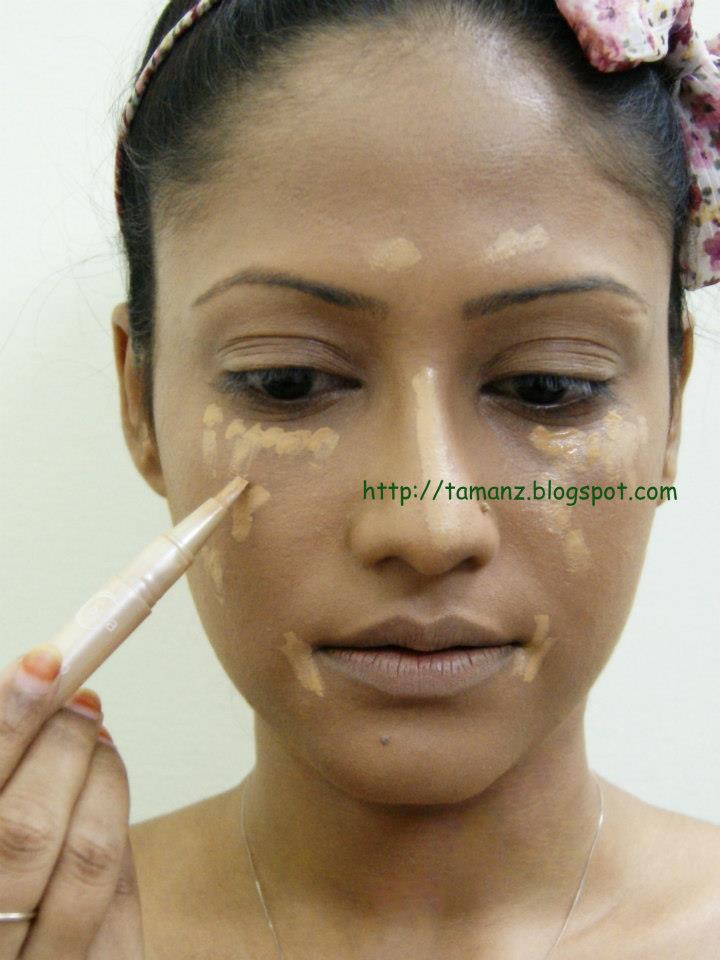
  • Then apply concealer only in those areas where you need it. Like, if you want to cover any dark spots or brighten up your under-eye area. You can again use a concealer brush or sponge. I used simply my fingers here.
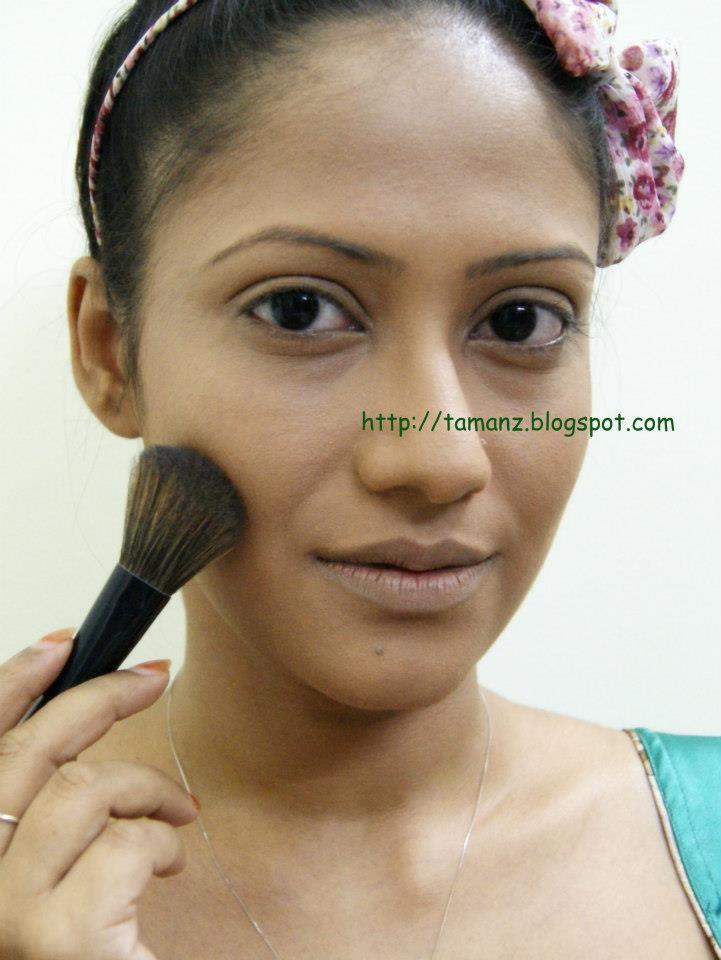
  • Now, you are almost done. Just apply the finishing powder very lightly to set the whole thing. You can also skip applying all over the face, just apply powder in those areas where it tends to crease or gets oily. For eg, under the eye or T-zone.

How To Do Basic Makeup With Foundation

And then you’re done and ready to do other parts like eye makeup, contouring or so!

NOTE:

  1. Your foundation might take 5/10 min to set.
  2. Choosing a perfect shade according to your skin tone is the most important thing. Then check your skin type with the foundation type. If you have oily skin then a water-based foundation will be most suitable for you.
  3. Try to pick those foundation shade that matches to your neck/upper chest area. If you look carefully at the pictures above, I haven’t used any foundation in my neck area but after completing my base it totally matches with my neck. You can also pick your foundation shade by matching with your hands. That’s how when you’re done with your makeup you won’t have to care for your hands if they are a bit tanned or bright.
  4. Choose concealer as close as possible to your skin tone to cover up dark spots.
  5. If your skin tends to oxidize choose a shade light foundation/press powder. Remember not to pick both of them in light shade, just one of them, either foundation or powder.

This is pretty much what actually I do to prepare my makeup base. You can also check out my next post on how to do Everyday Makeup.

Hope this post helps you to start with your makeup. Any suggestions, opinions, questions let me know in the comment box below 🙂

Tutorial: Blue shot: Eye look for heavy makeup

24
Hello Beautiful’s !!
How are you all ??
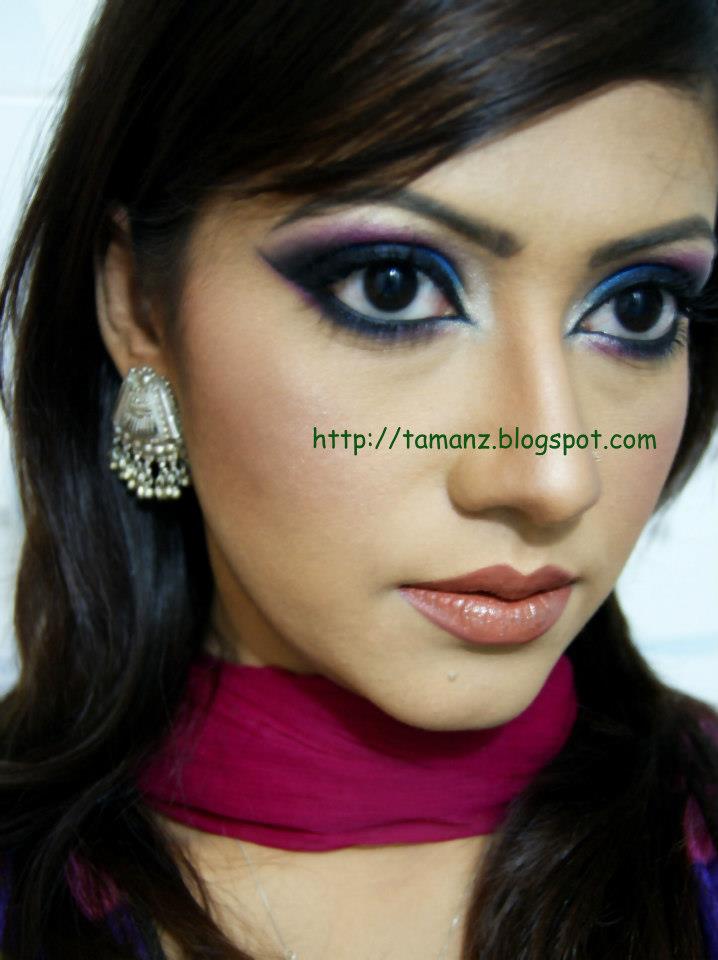
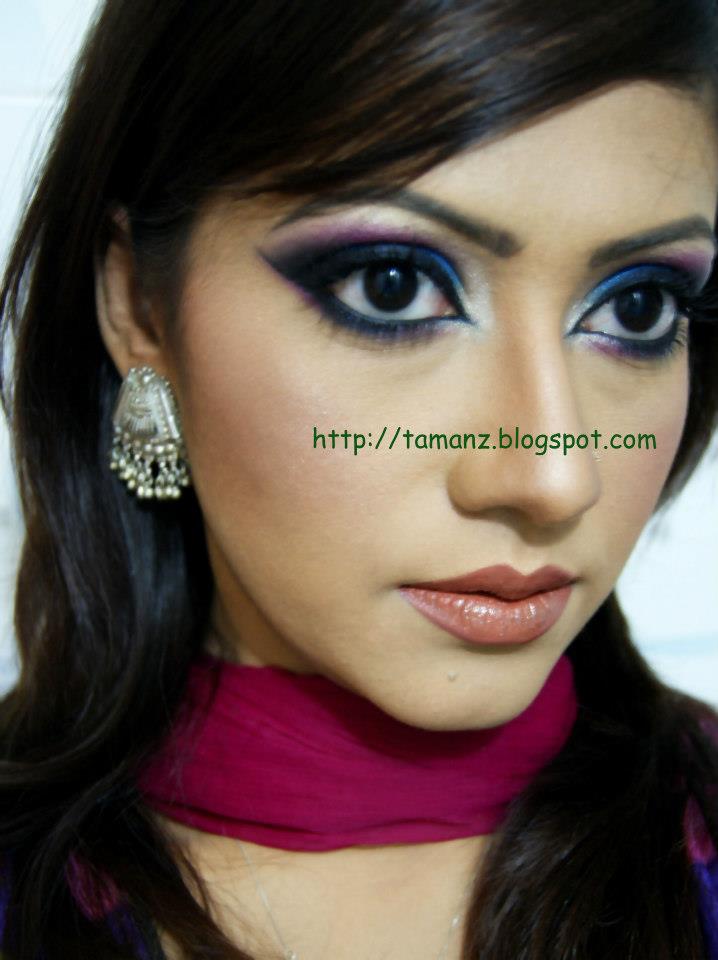
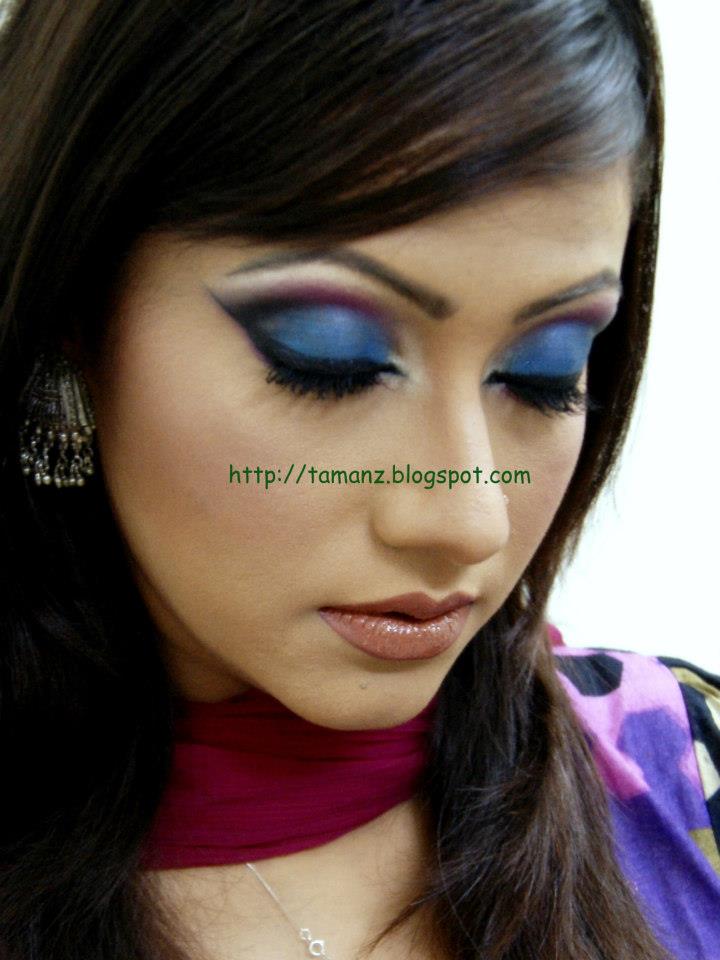
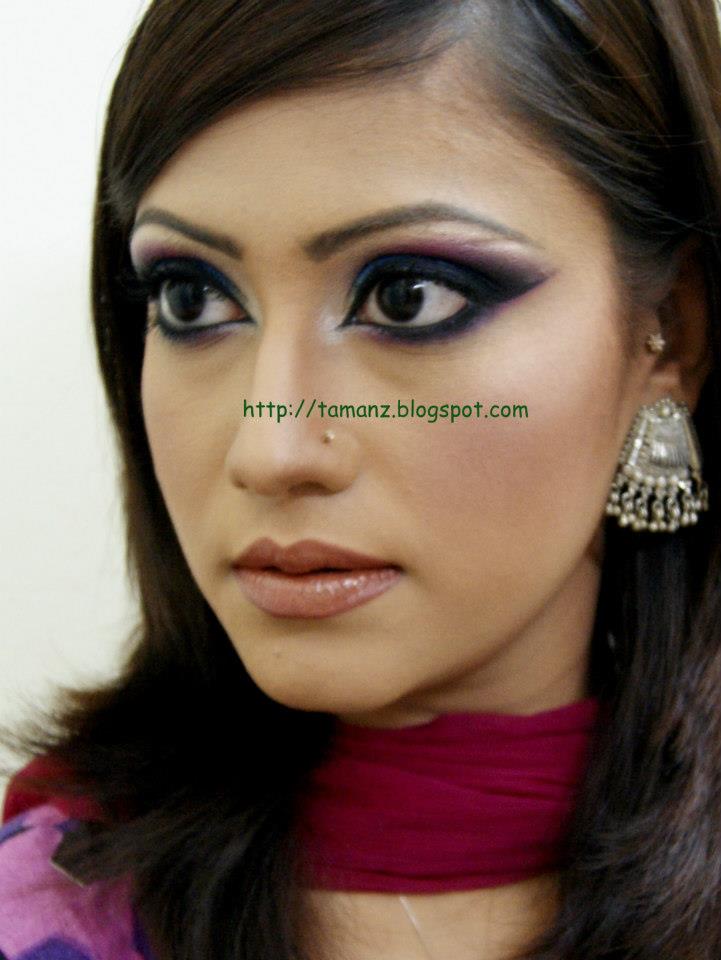
Other day when i was doing Heavy base tutorial, i have done a whole look along.
If you are following me on my FB Page then you know i posted the picture of that look 🙂

It was nothing fancy, but the colors.. made the look eye catching !!
Lets get straight to the tutorial…
wish you will find this tutorial n the whole look useful.

…………… at last put on good amount of mascara and you are done with your eye 🙂
keep in mind always blending is the key of your perfect work !

Product Ive used here:
Eyes:
*** All local eyeshadow (10tk one) as base and topped up with BH cool matte colors
*** Revlon khol pencil for water line and La-femme gel liner
*** L’Oreal feather lash mascara

Face:
***kryolan panstic in F38
*** Local pancake in 26,27,30 n yellow
*** MUA bronzer in shade 2
*** Fashionista blush in shade 9
*** Flormar terracotta powder in shade 21

Lip:
***Jackelin lipstick in Pumpkin Pie
*** L’Oreal glam shine gloss in Infinite Desert

hope you like this tutorial… Follow, coment n share…
n
take care till the next post 🙂
***If you haven’t checked my Heavy base makeup tutorial yet, check it here….. 

Pancake Makeup | How to do full coverage pancake makeup

About Makeup Base, the most important part of doing makeup, I say. When we talk about full coverage makeup, pancake makeup comes to our mind just at the beginning, no? If you do it wrong your whole effort gonna be a disaster. Only because of my reader’s request I thought to post regarding makeup base. And I decided to do it in 3 steps.

  1. Heavy | Makeup With Pancake
  2. Medium | Makeup With Foundation
  3. Light/Regular | Everyday Makeup


Today’s post is about the Heavy base. What I do mostly is kinda basic. Which is suitable for daily basis or might be ok for a party. But when it’s come to heavy makeup like bridal or photo shoot, I’m totally premature! So that, I was kinda experimenting with those kinda makeup in our DESI style, what I mean is what our local beauty salon does usually.


Let’s talk about the process…

Products to do makeup with Pancake:

  • Panstick (shade matches your skin tone)
  • Pancake(few shades like one in your skin tone, one a shade lighter than your skin tone, a brown one, a yellow one)
  • A sponge  (must… that is the only tool you gonna use to blend those things)
  • Water spray bottle
  • Translucent powder(any powder will do)


Step-by-step pancake makeup process:

How to do Makeup With Pancake


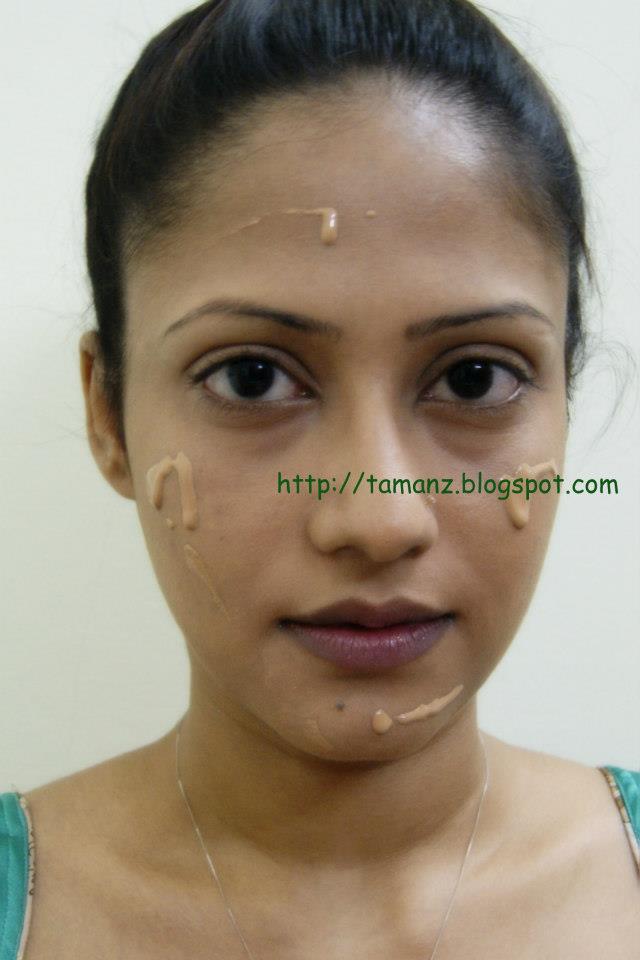
  • Start with a clear n moisturized face (my naked face, the ugly face of beauty). First, apply a good amount pan-stick directly. There are a lot of varieties pan-stick available in the market but I’ll suggest you Kryolan TV paint stick. Because it gives the most desirable coverage and shades, last long and moisturizing.


How to do Makeup With Pancake


  • Blend it with a damp sponge and blend it well. The best thing about using pan-stick is you won’t need and concealer. All your imperfection will disappear only by this. Then spray a good amount of water on your face and let it dry.


How to do Makeup With Pancake


  • Spray water all over your face again.
    Now take your skin color and yellow color pancake and mix both with a damp sponge to get the desired shade. Dab the sponge carefully in your face creating a heavy and even base. Make sure you blending everything evenly. Then, take the brown pancake and mark the contour line, On your chic bone, nose, hairline and lower chin.


How to do Makeup With Pancake


  • Now, apply translucent powder all over and spray a good amount of water, again on your face. When the water is almost dried out but still the base is slightly wet, take your previously used sponge and dab it all over and blend everything nicely.


How to do Makeup With Pancake
 

And, your heavy base AKA Makeup With Pancake is ready to Rock! You can now jump on to do other things like eye makeup or whatever!

You might find this kinda base a bit cakey at the beginning, don’t be terrified! It takes time to set with skin oil. Within half an hour the base will totally set with your skin and won’t look cakey. However, there is one more thing. Usually, people tend to get way too white shades(I mean way lighter than the skin tone) of pan-stick and pancakes. Which causes cakey and cat face. Always try to pick a similar shade that is closest to your skin tone. I used a shade dark pan-stick and pancake here than my skin. When the shade is mixed with yellow it turns into my skin shade and it surely gives me a more natural look.


NOTE:

This is a super heavy base actually and kinda waterproof makeup. This type of makeup is best suitable for working under high-volt of light. Makeup With Pancake is totally not suitable for your everyday life and not really good for your skin either. In fact, the world has changed and the processed base makeup have developed quite a lot. We prefer a healthy, dewy, no-makeup makeup look nowadays, no? If you’re expecting that you’ll get such glowy makeup with pancake, especially in a Desi Makeup Style then I’m afraid, forget it. Makeup with pancake only gives you a matte, solid and long-lasting makeup-looking makeup!


TIPS:

You gonna have a hard time if you wanna wash off pancake makeup only with soap and water. My advice, take a wet tissue and soak it with baby oil/olive oil, wipe off first. Then wash your face with face wash, twice, even thrice! Might do your regular exfoliation afterward. Lastly, don’t forget to tone your face with toner.


Hope this post gonna help you! I literally had no idea how to do this sorta tutorial post properly. I tried, hope it’s okay!? You can’t imagine how hard it is to make a pictorial. Taking an own picture by ownself… grrr!!! and when most of the time I get a blurry pic! ..any advice from your side?


You can also check out my other base makeup pictorial…


Tutorial: Magenta Drama: Eye look with bright color

6
Hello Beautiful’s !!!
Hope you all doing well 🙂
Here I came today with an eye tutorial I’ve done few days ago…
(If you following me on my GreenStory~~~ FB page, you already know about that)


This look is quite Dramatic with a real bright pop of Magenta.
Perfect to wear in any party !
Even in daytime you can go with it, i think. just I’ll suggest to pick lighter shade for you clothing 🙂
Hope you’ll find this tutorial n the whole look useful.

Now, main clue to make your eye look perfect is BLENDING
Blend it until you its perfect 🙂
though, don’t know really how I’m at blending ;p

Product I’ve used here………
Eyes:
*Sleek Acid palate for Magenta
*Sllek ultra matte V2 for blue
*MUA heaven n earth for highlighter
*LaFemme gel liner
*Maybelline volume express mascara

Face n Lip:
*Rimmel London 25hr foundation in shade 400
*Revlon colorstay aqua mineral powder
*MUA bronzer in shade 2
*Prestige baked mineral blush in Pink
*Benefit High beam
*Natural collection Lipstick in Rose Bud

Have you liked this look?? Which color you would choose for your lip??

***Don’t forget to follow me***
…Take care n lot of love…