About Makeup Base, the most important part of doing makeup, I say. When we talk about full coverage makeup, pancake makeup comes to our mind just at the beginning, no? If you do it wrong your whole effort gonna be a disaster. Only because of my reader’s request I thought to post regarding makeup base. And I decided to do it in 3 steps.
- Heavy | Makeup With Pancake
- Medium | Makeup With Foundation
- Light/Regular | Everyday Makeup
Today’s post is about the Heavy base. What I do mostly is kinda basic. Which is suitable for daily basis or might be ok for a party. But when it’s come to heavy makeup like bridal or photo shoot, I’m totally premature! So that, I was kinda experimenting with those kinda makeup in our DESI style, what I mean is what our local beauty salon does usually.
Let’s talk about the process…
Products to do makeup with Pancake:
- Panstick (shade matches your skin tone)
- Pancake(few shades like one in your skin tone, one a shade lighter than your skin tone, a brown one, a yellow one)
- A sponge (must… that is the only tool you gonna use to blend those things)
- Water spray bottle
- Translucent powder(any powder will do)
Step-by-step pancake makeup process:
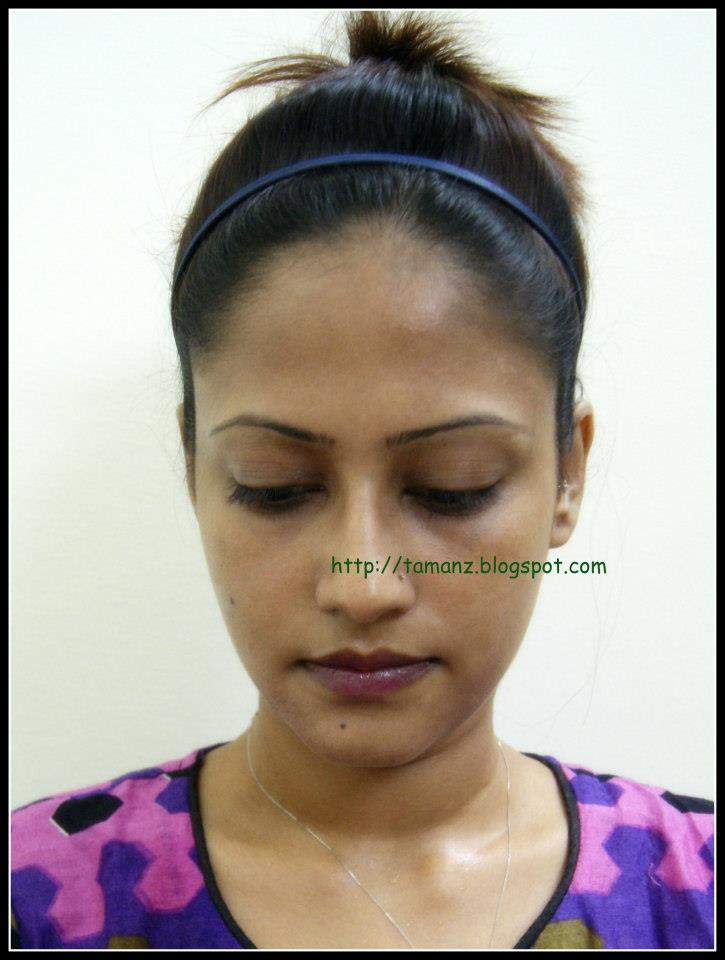
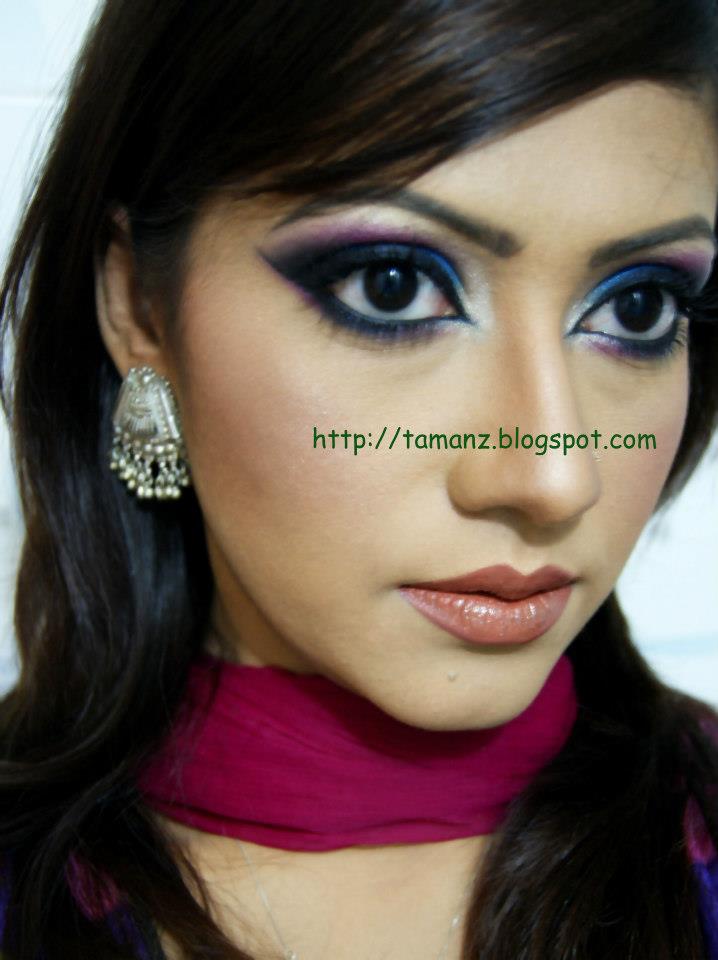
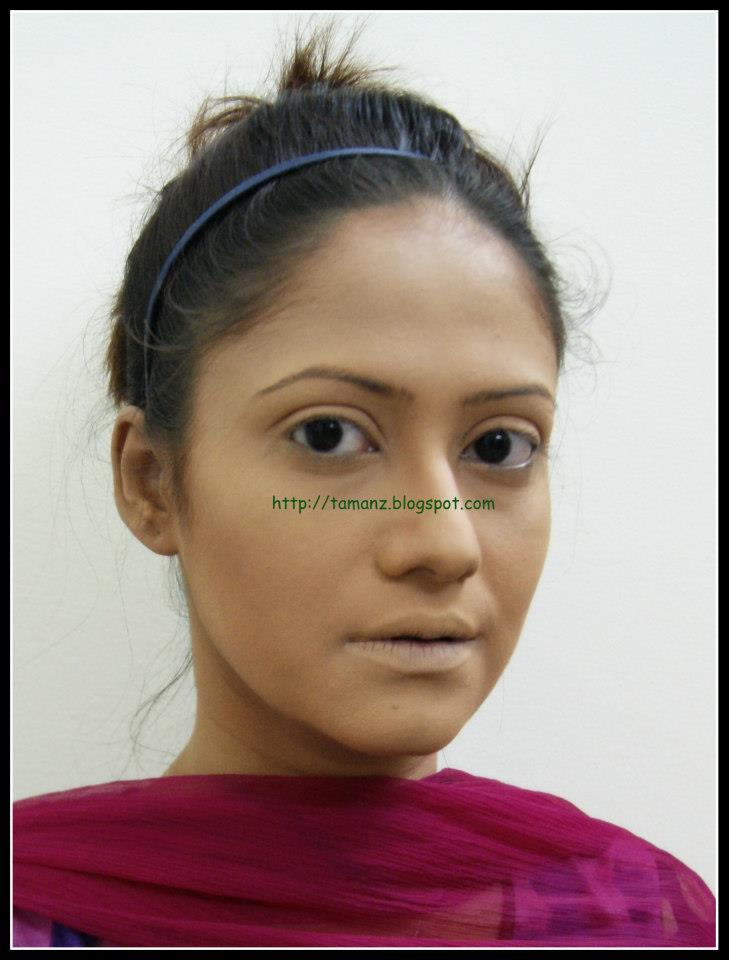
- Start with a clear n moisturized face (my naked face, the ugly face of beauty). First, apply a good amount pan-stick directly. There are a lot of varieties pan-stick available in the market but I’ll suggest you Kryolan TV paint stick. Because it gives the most desirable coverage and shades, last long and moisturizing.
- Blend it with a damp sponge and blend it well. The best thing about using pan-stick is you won’t need and concealer. All your imperfection will disappear only by this. Then spray a good amount of water on your face and let it dry.

- Spray water all over your face again.
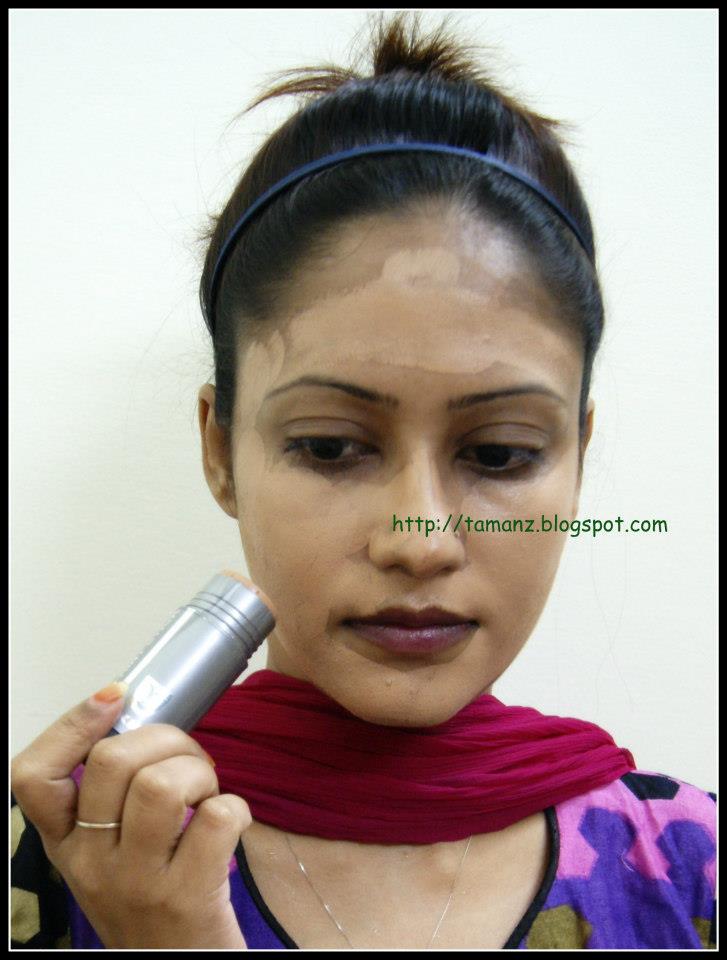
Now take your skin color and yellow color pancake and mix both with a damp sponge to get the desired shade. Dab the sponge carefully in your face creating a heavy and even base. Make sure you blending everything evenly. Then, take the brown pancake and mark the contour line, On your chic bone, nose, hairline and lower chin.
- Now, apply translucent powder all over and spray a good amount of water, again on your face. When the water is almost dried out but still the base is slightly wet, take your previously used sponge and dab it all over and blend everything nicely.
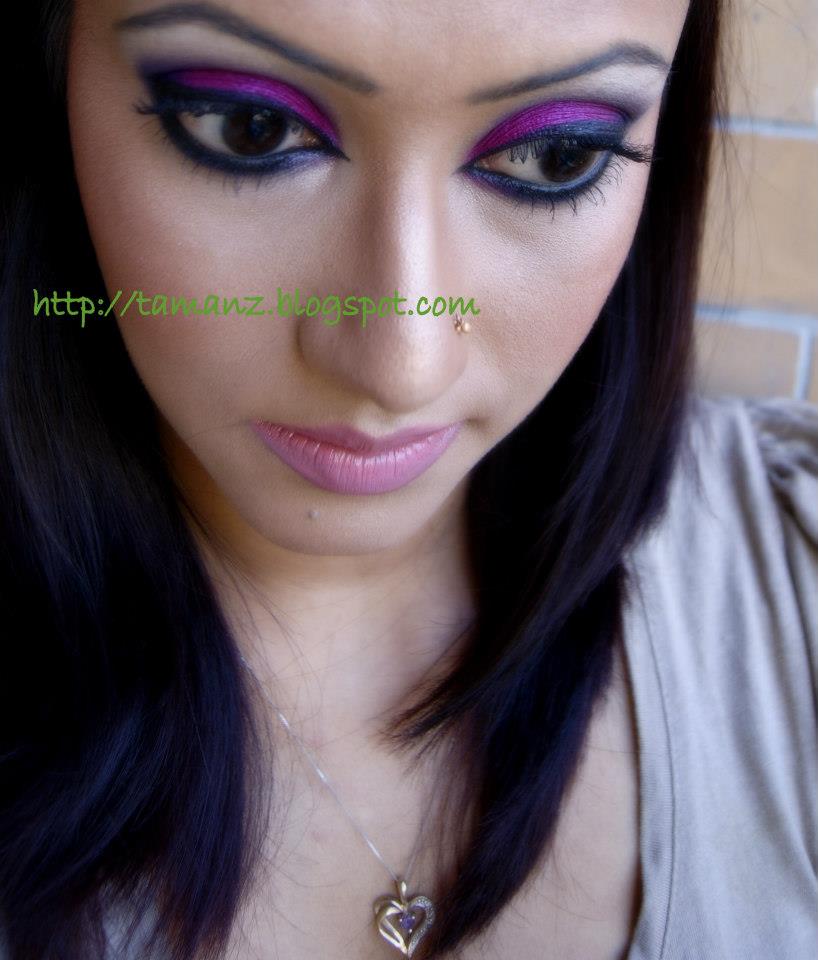
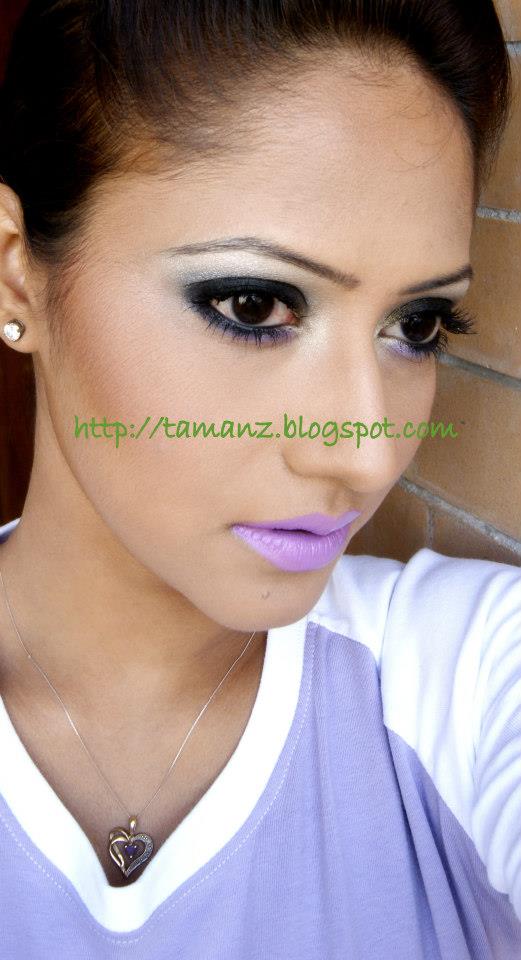
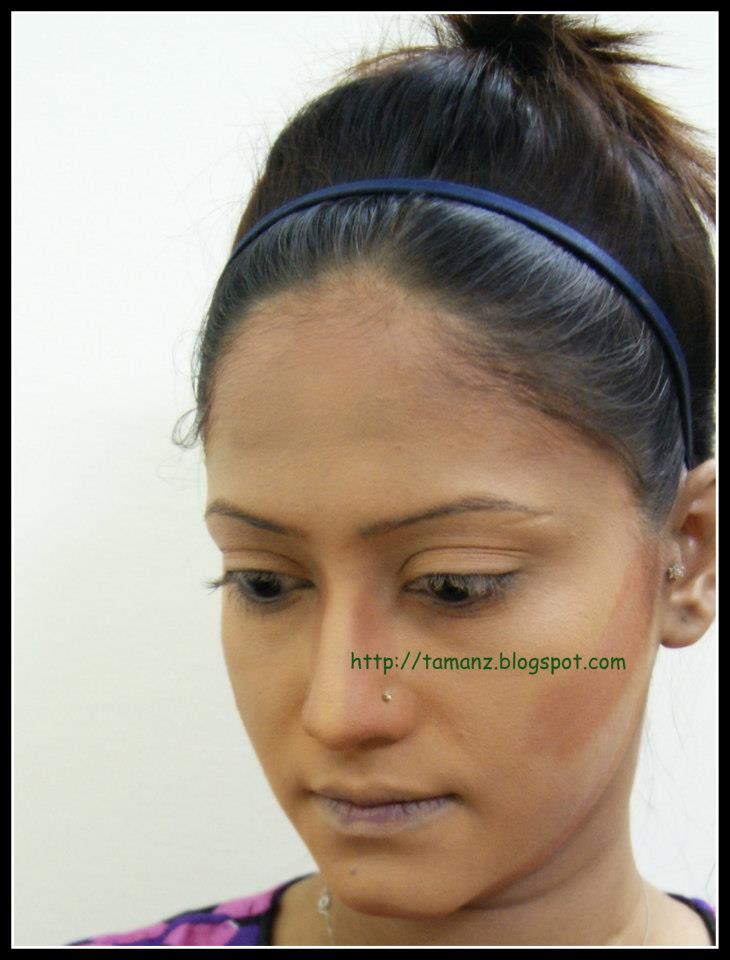
And, your heavy base AKA Makeup With Pancake is ready to Rock! You can now jump on to do other things like eye makeup or whatever!
You might find this kinda base a bit cakey at the beginning, don’t be terrified! It takes time to set with skin oil. Within half an hour the base will totally set with your skin and won’t look cakey. However, there is one more thing. Usually, people tend to get way too white shades(I mean way lighter than the skin tone) of pan-stick and pancakes. Which causes cakey and cat face. Always try to pick a similar shade that is closest to your skin tone. I used a shade dark pan-stick and pancake here than my skin. When the shade is mixed with yellow it turns into my skin shade and it surely gives me a more natural look.
NOTE:
This is a super heavy base actually and kinda waterproof makeup. This type of makeup is best suitable for working under high-volt of light. Makeup With Pancake is totally not suitable for your everyday life and not really good for your skin either. In fact, the world has changed and the processed base makeup have developed quite a lot. We prefer a healthy, dewy, no-makeup makeup look nowadays, no? If you’re expecting that you’ll get such glowy makeup with pancake, especially in a Desi Makeup Style then I’m afraid, forget it. Makeup with pancake only gives you a matte, solid and long-lasting makeup-looking makeup!
TIPS:
You gonna have a hard time if you wanna wash off pancake makeup only with soap and water. My advice, take a wet tissue and soak it with baby oil/olive oil, wipe off first. Then wash your face with face wash, twice, even thrice! Might do your regular exfoliation afterward. Lastly, don’t forget to tone your face with toner.
Hope this post gonna help you! I literally had no idea how to do this sorta tutorial post properly. I tried, hope it’s okay!? You can’t imagine how hard it is to make a pictorial. Taking an own picture by ownself… grrr!!! and when most of the time I get a blurry pic! ..any advice from your side?
You can also check out my other base makeup pictorial…