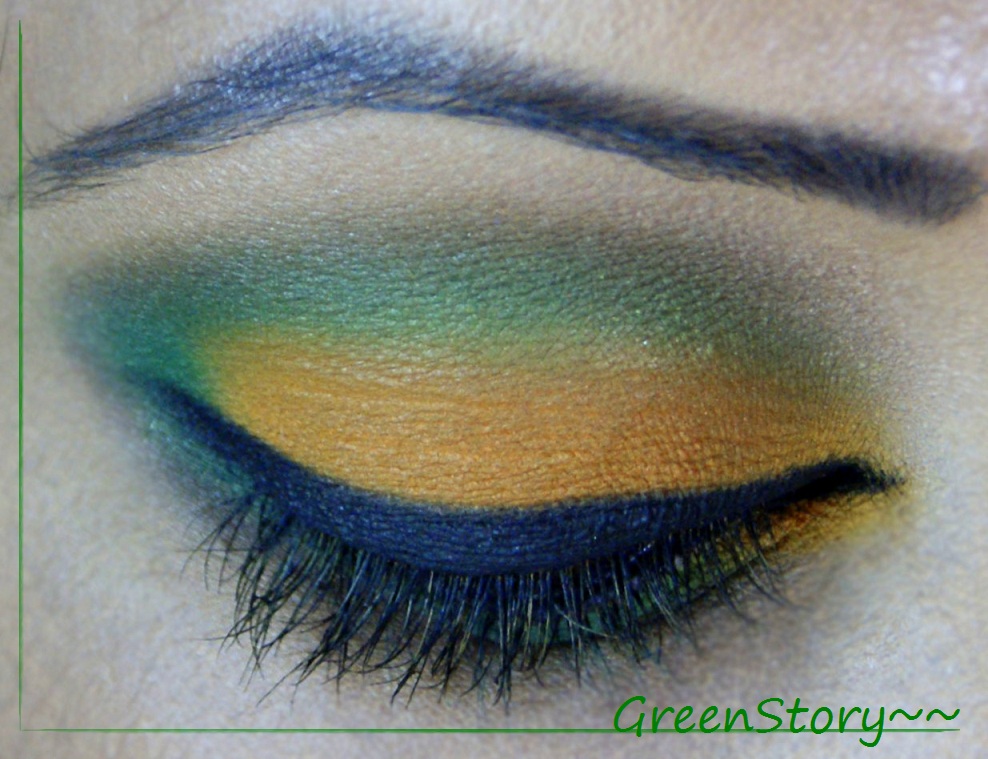
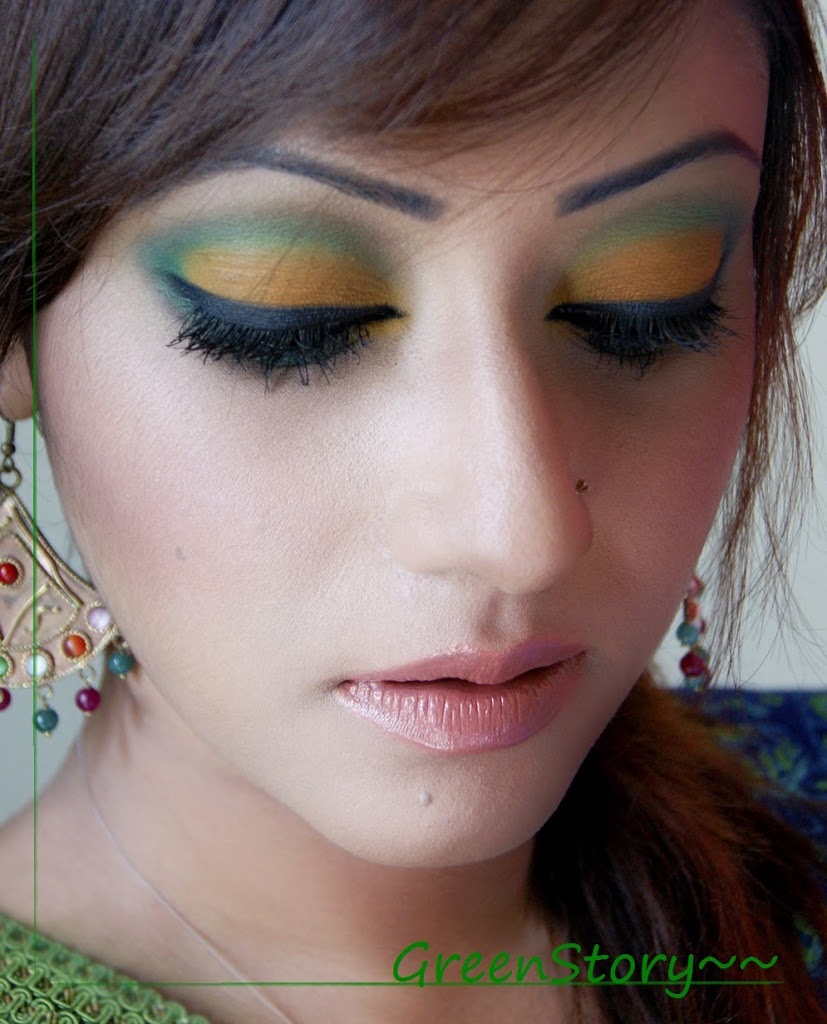
Home Blog Page 46

Ioni Matte Lipstick in shade Sexy Fuchsia | Review & swatch

3
Hello there Beautiful,
TodayI’mm reviewing another lipstick by Ioni cosmetic. It’s from their matte range, called ‘sexy fuchsia’. Worth: BDT 150/-

Ioni Lipstick swatch | Sexy Fuchsia


About the color

Sexy Fuchsia is a muted true fuchsia which is pretty close to Cabernet(review here) but a bit intensified. The color shows up more bright in the light. If you are a fuchsia lover then you gonna love to wear Sexy fuchsia by Ioni every day.
Ioni Lipstick swatch | Sexy Fuchsia


My Experience with Ioni Sexy Fuchsia

Packaging is simple, smart looking but not durable enough. You might get crack on lid and lipstick might come off from the tube during rough use. Smells somewhat sweet but last for few minute after applying and won’t smell anything after a while. Finish is creamy but turned out nice matte after applying yet not drying at all. Last so long even if you eat or drink. Will leave strong stain throughout the day unless you remove it with your makeup remover.
Overall, I don’t hate anything about this lipstick. In fact, I love the shade. After all, what else you can expect with this budget price! Strongly recommend this product if you looking for a budget friendly but a quality product.


[signoff][/signoff]

Review & Swatch: Ioni Lipstick Cabernet

12
Hello there,
First review from a beauty brand discovery, Ioni Cosmetics.
This is the first time I’m going to review a product by Ioni Makup.
Let me tell you something about the brand,
Ioni makeup is a concern of Jhon Davler, Inc ; La, USA.
Its been almost a year they are available in Bangladesh.
I remember, its been around 8/9 months first time i bought Ioni product without any clue about the product or quality…. !!
But now I can say, Im a fan of them since my first use. 
Their product range is supper affordable yet good in quality.
However, Lets come to the topic… 
Ioni lipstick in shade Cabernet from matte range.
Worth: BDT 150/-
You’ll find it in any cosmetic store who is having Ioni cosmetics.

About the color:
Cabernet is a muted blue toned dark fuchsia. The color looks more deep in tube but shows up lighter in lip. Color shows up even more lighter fuchsia depending on light.
This is such an unique color to have in your collection.
I must say, Cabernet is my favorite color from whole Ioni Lipstick range.
About the product:
Firstly, i found the packaging is simple yet quite cheeky though not sturdy enough !
While using roughly, the lid might get cracks in the end and the lipstick might come off from tube.
But i don’t bother that, it happened with only one between eight of my Ioni lipstick.
Smells somewhat sweet, I don’t know which i can compare that with but it doesn’t bother me.
As I mentioned before, Its from their matte range.
Matte mean It is soo matte but not drying at all, which is the reason i fell in love with this lipstick.
Color pigmentation is fantastic, smooth in texture and one swipe is enough to get the color.
You can build up color if you want, trust me it wont give any patchiness. 
Lasts like forever, even if you eat or drink… 
There is a thing which you might not like, it stains lip quite strongly, i guess that’s why it lasts long.
In my case, i don’t mind the stain, eventually, i like lipstick which stains.
However, don’t worry much, the stain not gonna sit on your lip forever, it easily comes off with baby oil or Vaseline. 
Last word,
I love it, i think you’ll love it to. Give it a try if you haven’t yet.
I feel kind of bad blogger that I’m reviewing this product after this long.. apology please !!
Take care till the nest post.
Follow me on Bloglovin and FBpage
** Don’t forget to post your thoughts in comment box below **
…Bunch of Love…

Contour And Highlight | Basic Tutorial

Hello there,
Today I’m doing a highly requested post about how to contour and highlight your face. I’m not an expert on contouring and highlighting. There are a lot more tricks and ways to do that. Today I’m showing only the basic procedure. If you are new to this then you can certainly achieve a good result by following and practicing my shown steps.

The product I’ve used here:
*Flormar pretty compact blush (bronzer) in shade P114
*Flormar pretty compact blush in shade P113
*MUA undress your skin shimmer highlighter.
……..you can use any product of your choice.
To start, I must mention what contouring and highlighting are. After applying foundation, your face gets a whole even canvas which means your face loses its natural dimension. Where contouring and highlighting is the technique to bring back your face structure, dimension, and light effect.

Let’s start with the process…..
Here’s my even and flat face after applying foundation.


Step 1:

Take your preferred brush and bronzing/contouring powder.
Apply it just in the line of your cheekbone. It should start from the top of your ear and finish in an angular line toward in your lip end. But do not apply close to your lip, just stop in the middle way.
This will add depth and shadow to your face and lift up your cheekbone.
Blend it nicely.
contour and highlight


Step 2:

Using same brush and powder touch up your hairline
starting from top of ear and up to top of your forehead.
Make sure you blend it well.


Step 3:

Fill the side of your nose leaving the bridge. This will lift your nose.


Step 4:

Using the same brush sweep your bronzer under the jawline up to the end of your ear.
Also, apply some following your neck bone.
This will give a sharp look at the end of your face.

Moreover, if you have double chin this trick will help you to cover that.

Now your contouring is done…..
you can definitely see from the picture how contouring created dimension to your flat face.
[wp_ad_camp_4][/wp_ad_camp_4]


Step 5:

Time to get a blushing cheek.
Take your blush powder and brush, here i prefer an angled brush, sweep that in apple of your cheek connecting to you cheekbone. Blend it well with your contouring section.

Done with contouring and blush 🙂
contour and highlight

[wp_ad_camp_4][/wp_ad_camp_4]


Step 6:

Time to light up and define the high point of your face.
Take your highlighter and a brush to apply that, pat and blend high point of your cheek and bridge of your nose. You also put some in high point of your forehead and in cupid bow of your lip. But to me that’s totally optional.
Remember, do not get much close to eyes when you applying highlighter otherwise your under eye imperfection area will be highlighted.

You are done and here’s the finished look 🙂
contour and highlight

Take a look at the before and after pictures again… Can you detect any difference?
Yes, the difference is huge. In the before pic, the face looks so flat and boring!
After contouring and highlighting face looks totally glam up!contour and highlight
*** Note that,
I did way too dark contour and highlight than normally I would do, so that it shows up in the picture. Do not go overboard with your contour and highlight.
In my suggestion,
when you pick your bronzer pic just two or three shades of dark color than your skin tone.
For highlighter don’t just go for something white.. pick one following your skin tone. Like if you are white or whitish then you can easily go for anything with a white or pink undertone. For girls with dark skin or a yellow undertone, I think a yellow/gold tone-based highlighter is best for them.
Keep in mind, that highlighting doesn’t mean whitening up your face but adding glow/light to your face.

This tutorial was just a basic process. Hope my post helps you.


Review: Maybeline Dream Matte Powder

2
Hello Reader.
Today I’m reviewing Maybeline Dream Matte Power
Availability: all big cosmetic store in Bangladesh
Price range: for 9g of product BDT 600/- to -850/- (varies on store)

I’ve been using this product for quite long and about to hit the pan.
I’m using the shade beige (medium 2-2.5).
Luckily only this shade has yellow undertone which matches my skin perfectly.
It comes with very nice and sleek cream-beige color packaging.
There is two compartment, top one is with the powder,
in bottom one there is a mirror and the powder puff.
The powder is supper mild, lightweight with silky smooth texture, 
gives light coverage and blends with foundation like heaven.
I fond that this powder is perfect for setting and mattify foundation, stays up to 3 hour without touching up in my combination skin, doesn’t clog pores or doesn’t feel cakey at all.
As because it doesn’t give much coverage so you can really feel your skin after applying foundation.
If you thinking to wear this product alone, it wont cover up your blemishes, 
but will even out and brighten up your skin tone.
The powder it self is totally unscented which i absolutely loved.
So far, I haven’t had any breakout issue with this.
Overall, to me, this is an amazing product to have for regular use. 
I’ll definitely repurchase as soon as i hit the pan.
Take care till the next post
and
do post your opinion in comment box.

Color Pop: Orange & Green eye in a wearable way….

Bright Orange and Leaf Green
Combination requested by one of my lovely reader.


So, Lets move on to the tutorial….
1. Make a nice and smooth base for shadow…
2. Take your brightest orange color and pop that in your lid, up to the crease.
3. Take a light green color and fill your crease and outer corner with that
4. Take another darker green color. Nicely define and blend the green a bit more.
5. Grab a darker brown and blend outer green crease with it.
Take a nude color and bend out the brown color with brow bone. this will work as highlighter.
6. Take your dark green again.
From outer part, line you 2/3 lower lash line with it.
Rest 1/3 inner corner you cover with the orange you used previously.
Then connect and blend outer part of color with dark brown again.
7. Now, you are almost done…
line your upper and lower lash line with a black liner, put on some decent amount of mascara.
And tend your brows afterword 🙂
***If you feel any of your color is fading due to blend, you can always go over again. Just pat some color over again to get the desired intensity. But do blend everything nicely.
Here is the finished look….
****You can make this look more dramatic by using false lashes.
I’m allergic to false lash and glue, so I dont really try to put that on ever .
Product I’ve used here:
 
For eyes:
*Nyx jumbo pencil in milk as a base
*BH cool matte palate for orange, light green brown and nude color.
*Sleek ultra matte V2 for dark green.
*Revlon kohl pencil in black
*La-femme gel eyeliner in black
*L’Oreal feather lash mascara

For Face:
*MUA undress your skin face primer
*Rimmel London lasting finish foundation in shade natural beige
*Revlon age defying concealer
*MAC studio fix powder plus foundation
*MUA bronzer in shade 2
*Personi blush(dont know when did i scratch off the name tag, cant remember the name :! )
*Flormar terracotta powder in shade 21

Lip:
*L’Oreal color riche lipstick in shade Peach Parfait

 
Liked the look ??
Or,
Hate it??

Do comment below….

…..Take care till the next post…..


Goldy nude look Featuring Makeup Academy (MUA)

MUA has been my favorite brand since i know them.
For last couple of months I’ve been purchasing quite a lot MUA product.
But, at the same time I was going through terrible pimple issue due to some bad product.
So that I was keeping my self away putting makeup.
Its been almost 2 month… my pimples are almost gone, now its just the remains spots!
Yeh, so I started trying my new MUA product and created this look mostly with them…

Product used here:
Face…
*MUA undress your skin flawless skin primer
*MUA undress your skin illuminating foundation in shade beige and golden
*MUA pro base conceal and brighten kit in golden
*MUA pressed powder in shade 4
*MUA bronzer in shade 2
*MUA undress your skin highlighting powder
Eyes…
*MUA going for gold palate
*Revlon kohl pencil
*Maybelline volume express mascara
Lipstick…
*Jackelin medium brown
As soon as I’m done with trying and understanding my new MUA product,
I’ll be posting my experience with them.
recent purchase 🙂
…Take care till the next post…

Sour Curd – 1 Home Remedy for Head to Toe Care (the Secret of Healthy Hair)

38

Hey there, how are you all? This has been a long-awaited blog post. I feel good that I’m finally writing it. Don’t know for how long I’ve been thinking to write it down! It’s about a DIY home remedy with Sour Curd. Which is actually the secret of having healthy hair.

Sour curd, a simple but well-known product as a beauty essential. People use it as a home remedy in many ways for its effective ingredient. Do I really need to rave more about this? I think you already know everything. However, I’ll be writing today about how this has become the most effective part of my beauty remedy, especially when it’s about my hair.

I’m not any ‘taking good care of hair and skin’ kind of a person. Life is busy, who have time and energy for giving a good amount of time to skin and hair? I always reach for an easy and shortcut way when comes to taking care of skin and hair.

I must mention, I got this Curd method from my Grand Maa.

Since I’m using this method, every time it’s been performing magically.

Sour curd DIY home remedy secret of healthy hair

How to use sour curd for hair and skin?

I don’t really use it like normal people do…mix with a daily care pack, give it time to sit, etc. As I said before, I don’t have time or patient for all this. Maximum three times a week, I take 5/6 tablespoon of Curd with me in the shower. Before getting wet apply curd Head to toe, give a good massage…

No, I don’t take a long time for that, maybe 3/4 minute for the whole process. And then wash it off and start talking shower normally. That’s it! This easy-peasy method always does more than anything I need.

Why sour curd DIY mask is the secret of healthy hair?

First, let’s talk about my hair. I got fine hair genetically. They are straight, black in color, and thinner than usual. I’m a hair color freak and I do a lot of experiment with my hair. Every 2/3 months I reapply color without judging anything.

To add more, I hate wet hair and open hair when I’m at work or normally outside. Thus, I go through blow dry and hard styling sprays every day. Moreover, I take a hot water shower every day, quite a bad habit for hair, I know!

Don’t you think all these are quite enough to get damaged hair?

I’m proud enough to say, I have healthy hair. They are not frizzy, they shine, manageable without any live-in conditioner or such thing and I bet you won’t find any split ends. All credit goes to only my thrice a week 3/4 minute sour curd method. Within this short time it the condition, nourish, soften, and cleanse deeply. Trust me, from the first use you will see the magical difference.

Skincare with sour curd mask:

I have combination skin on the face, but body parts are mainly dry and sensitive. With this dryness and patchiness, a 15-minute open sun ray is more than enough to get burned. I meant actually burned not tanned, doesn’t matter how high SPF I use!

Don’t you think it’s quite scary?

Yes, I always try to avoid the sun but I’m bound to go out and how about managing dryness ?!!

Again, the simple thing… Sour Curd.

No, curd doesn’t magically remove tan/burn for me. It cleanses deeply, smoothes out any dry flake and restores moisture. Moreover, Sour curd contains calcium which helps to strengthen nails and also restore the natural color of the nail.

More benefits of sour curd:

I eat sour curd every night as my dessert. 2/3 tsp with a bit of salt, sometimes with sugar and sometime along. People say it helps to reduce tummy fat, I don’t know about that! But I believe it helps to purify the skin from inside and helps the digestive system to perform well.

Now tell me,

if I call sour curd my head-to-toe beauty cares essential, is it too much to say?

My random feeling:
Whenever I use this I feel like Cleopatra ;p ;p ..I wish I could use milk instead of Curd!! But milk is expensive for me to take shower with so I’m being happy with sour curd ;p ;p

To conclude my rave post about DIY sour curd home remedy,there is some fact I wanna mention…

  • Do not rub your hair much when you apply sour curd on hair. Sour curd softens your hair pretty quickly, so if you rub your hair much you might trigger hair fall. Even if you use it too much like let it sit for long or thinking to use every day, then also it can cause hair fall.
  • Do not forget to shampoo and using normal conditioner after. If you don’t do that then the oily residue left from curd might harm your hair.
  • Same for your skin as well. Use your favorite body wash and rub-off any residue left from sour curd, especially from the face. Otherwise, you won’t get rid of dry flakes of your skin. Also, contained excessive oil/moisture might trigger pimples on your face.
  • If your hair is colored and you thinking to apply curd then keep in mind, your hair color might wash off a bit quicker than usual because of its acidic component.
  • Do not expect that you gonna be fair or your facial spots gonna be removed magically. In a short, regular use of sour curd will provide you healthy and clean skin as well as hair. Only because, it cleanses well. Gradually you’ll notice your tan is fading away and adding a healthy glow to your skin.

Note for this home remedy with sour curd:

All the things I stated here are totally from my personal experience. So either you can trust me and give it a try or, you can just ignore it. Every product doesn’t suit everyone, so don’t forget to do an allergy test before you go for it. Though it’s a natural ingredient, you never know it might cause you allergy. Like I’m ridiculously allergic to cucumber, which I never heard happened to anyone else! Just Hoping this post gonna be helpful for you.

I normally use sour curd by Aarong, because it is widely available here in my area but you can use any brand that is available to you.

That’s all for today. Do let me know how this Sour Curd – 1 Home Remedy worked for you if you’re going to try it. Also if you have a favourite DIY home remedy for hair and skin then please do share in the comments below.

MORE HOME REMEDIES here 👈

DIY: Lipstick Palette

30
I’ve been thinking long to make my own lipstick palette.
If you following me in Facebook then you already know that I made one few days ago.
Reason behind i wanted to arrange my lipstick in a palette is
some already broken ones and also to get rid of lipstick clutter.
So, Lets get started….. with the process.

Product you’ll need:
*A box to make the palate. I used here a plastic pill case.
you can find this type of box in any supper shop or plastic shop.
* Your Lipstick
*A sharp blade knife
*A sharp toothpick kind of thing to poke out lipstick from the container.
this is the pill case i took to made my palate.
Process: 
This was my first time depoting lipstick.
I was worried a bit worried, what if i do this wrong or my whole process fail!
So I start doing it with one lipstick first.
*I cut off the lipstick part with the knife and
poke out all the rest from the lipstick and took it in my case.
*Put the case on oven(microwave) in 180degree for 1 minute to melt the lipcolor.
But they didn’t melt in that heat… so I did it again but in full hit for 20 second.
This time it worked nicely.
*I give that few minute to rest the color.
*After a while it was set and reformed totally with its previous consistency, color and smell.
*I was totally happy with the outcome so I start doing the rest.
*I took 13 lipstick to fill the rest of my palette. Cut off and placed in the case.
*Put it in the oven… As because it was a lot than one, so they took a bit more time to melt.
*This time I hit up all in full hit for 30 second. They melt partially this time.
*Again I hit them up in 450 degree for 1 minute. and they melt down completely and smoothly.
*After that gave them few Minute to cool down.
*And finally put them in freezer to set nicely.
*Within half an hour it was done. 🙂
*Now it was the time for finishing touch and labeling.
*I scratched off printing marks from the case to give it a neat look.
*Wrote down the name of each lip color with a permanent marker in the side of the case.
Holla !!!!!
My lip color palette was ready…..
I really enjoyed doing this whole process
and so happy with the outcome.
I’m saving whole lot of space in my organizing drawer now.
Even feeling more happy when I’m thinking of traveling..
Now I’m gonna be able to take more lip color with me and
I don’t have to look for a color here and there..
This DIY is totally a time, space and life saver !!
Moreover, I’m thinking to create another palette again !

So, what you think??

Love it or hate it??
or,
INSPIRED??
thinking to make for yourself???
Let me know….
…Bye for today Lovelies…
Take Care
*** Remember to take the case in good quality and which is oven proof. otherwise you might occur any accident. Mine was food graded plastic.